Learn to create and organize sheets, reports, dashboards, and forms in the workspace you prefer. Create items from scratch or choose from relevant templates, whether you're creating something new or importing an existing item into Smartsheet.
USM Content
Create an item
Decide which item best fulfills your needs.
Smartsheet items and workspaces include:
- Sheets: The foundation of your work in Smartsheet. You can choose from multiple views for your sheet. Usually starting from Grid view, but the Card, Table, Timeline, and Board views are available as well. You can also import file data into new sheets.
- Forms: Creating a form automatically creates its underlying sheet, but you can also start a form from an existing sheet.
- Reports: You can create two types of reports:
- Row Report: View row information from multiple sheets.
- Sheet Summary Report: Take data from the Sheet Summary of multiple sheets.
- Dashboards: The visual layer of your work in Smartsheet. They start as a white canvas but take shape as you add widgets that help you display data in the dashboard, from titles to links and images. You can even embed a report in your dashboard!
- Workspaces can contain multiple Smartsheet items and are great for sharing your items with your team.
- Collections in workspaces are curated selections of Smartsheet items and external content (such as Google docs, PowerBI dashboards, or Youtube videos) that you can share with specific people for centralized work.
- WorkApps are dynamic applications to help you share Smartsheet items with users who aren't daily Smartsheet users.
After you’ve decided what item you want, there are multiple ways to get started:
From Create
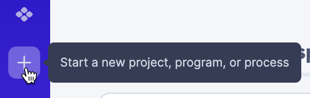
- Select the +Create button on the left navigation bar.
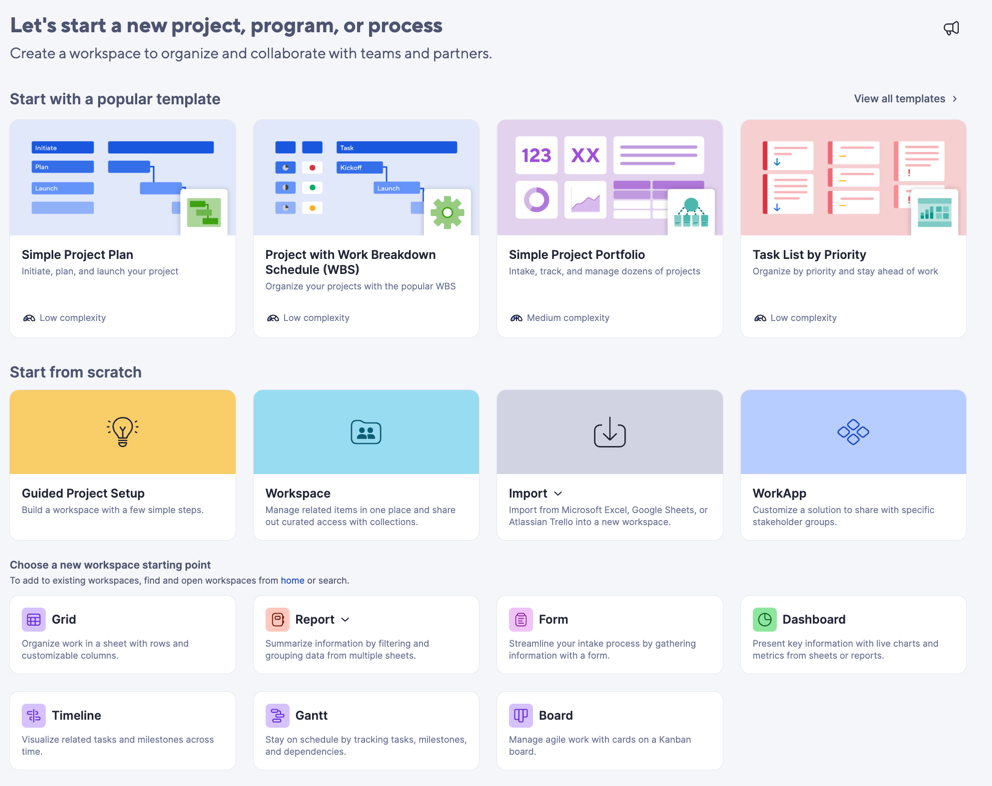
- Use the menu to select the item you want to create.
Before creating the new item, use the Location dropdown to select where you want the item to live. Choose between an existing workspace or creating a new one.
Use the Browse all option to access all workspaces from which to choose.
From Home
- Select Home on the left navigation bar.
- Select the Create button in the upper-left corner to choose which item to create and its location. Otherwise, open the Workspaces tab and select the workspace where you want to store your new item.
Select the star on a workspace or item to make it a favorite.
From a workspace
- Go to Home > Workspaces.
- Select the existing workspace where you want to store your new item. This opens the workspace panel on the left.
- At the top of the workspace panel, select +Add to workspace.
- Select the item you want to create.
From Templates
- Select the +Create button from the left navigation bar.
- Select More options >
Select any of the options from Start with a popular template or select View all templates to browse all available templates.
Learn more about how to Organize your work with templates from the template gallery.