The template gallery helps you save time creating solutions to improve your work processes. Use templates to discover new capabilities, learn best practices, and get more from Smartsheet.
Explore the template gallery
- Select the Start a new project, program, or process icon on the left sidebar and select View all templates. Alternatively, go to https://app.smartsheet.com/r/template-gallery.
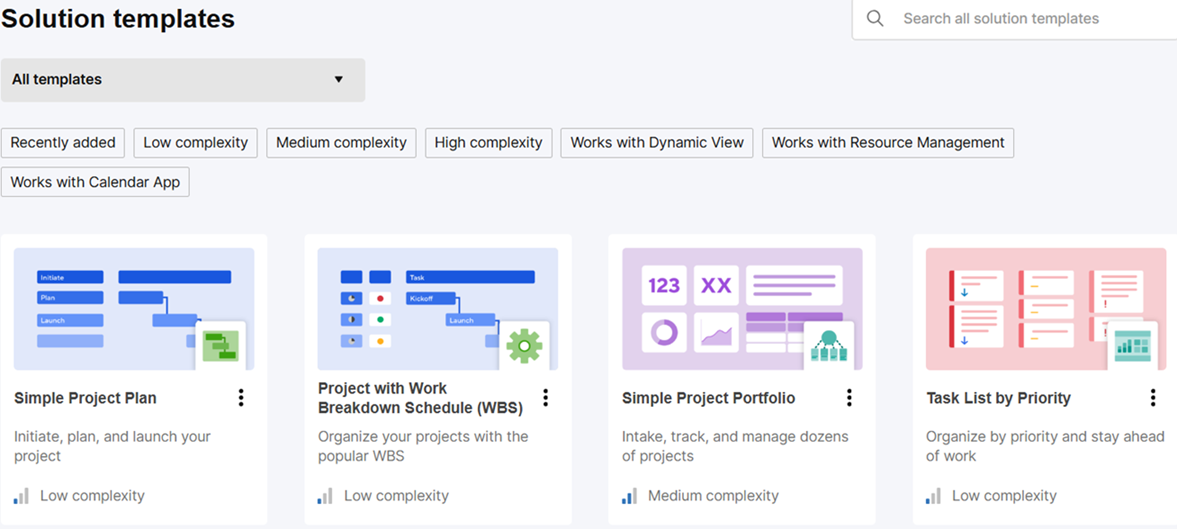
- Select a category from the dropdown at the top of the page. Use filters to narrow your search.
- Select the template thumbnail for a description and live preview of the solution. Use the icons below the preview window to see each included element.
- Select Create from template in the top right corner. The template and its contents load as a new workspace in your account.
Consider working with our Solution Services team if you want a solution to accommodate your business use case at scale. They can assess your situation and design a solution specifically for your needs.
Customize your template
You can edit templates like sheets, forms, automation, reports, and dashboards. For example, you can edit cell data, change column types, adjust report filters, and create new widgets to make the template work for your use case. You can modify everything in the template to match your needs and processes.
To personalize a template:
- Rename the workspace, sheets, reports, and dashboards. Renaming items doesn't change how the template functions.
- Select each element and examine its capabilities, starting with the sheets, reports, and dashboards. For example, check if the sheet includes formulas, forms, or automation.
- After becoming familiar with the solution, clear the sample data. To maintain the solution's integrity, do not delete cell references, formulas, hierarchy, or other capabilities that may affect its function.
- Share your solution. Templates create their own workspace. Anyone with Admin access to the workspace can add, subtract, and modify your solution. See Managing Items in a Workspace (Add, Move, Remove).
Share a template
You can’t share templates individually, but there are two ways for you to share them:
- Move them into a shared workspace: If they have the necessary permissions and access levels in Smartsheet, anyone with Admin access can create new sheets. Learn more in Manage items in a workspace.
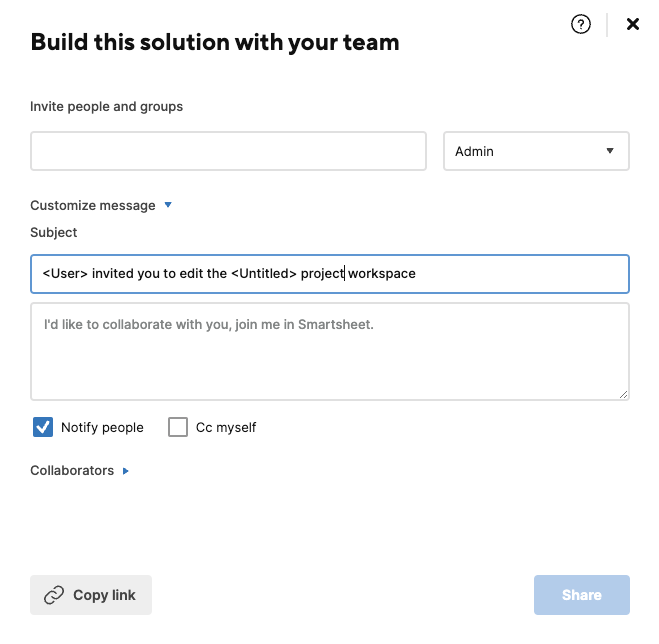
- When you create a new template from the template gallery, invite people to collaborate on the solution: Enter their email addresses, select their permission level, customize the invitation message, and then select the Share button.
If you’re on a Free or Trial plan, the sharing prompt automatically appears after you download the template. Make sure to invite collaborators to help build the solution.