Upload assets
You have several options for uploading in Brandfolder.
- Open the section you want to upload asset(s) to.
Drag files individually or in bulk to the uploader box.
Brandfolder Image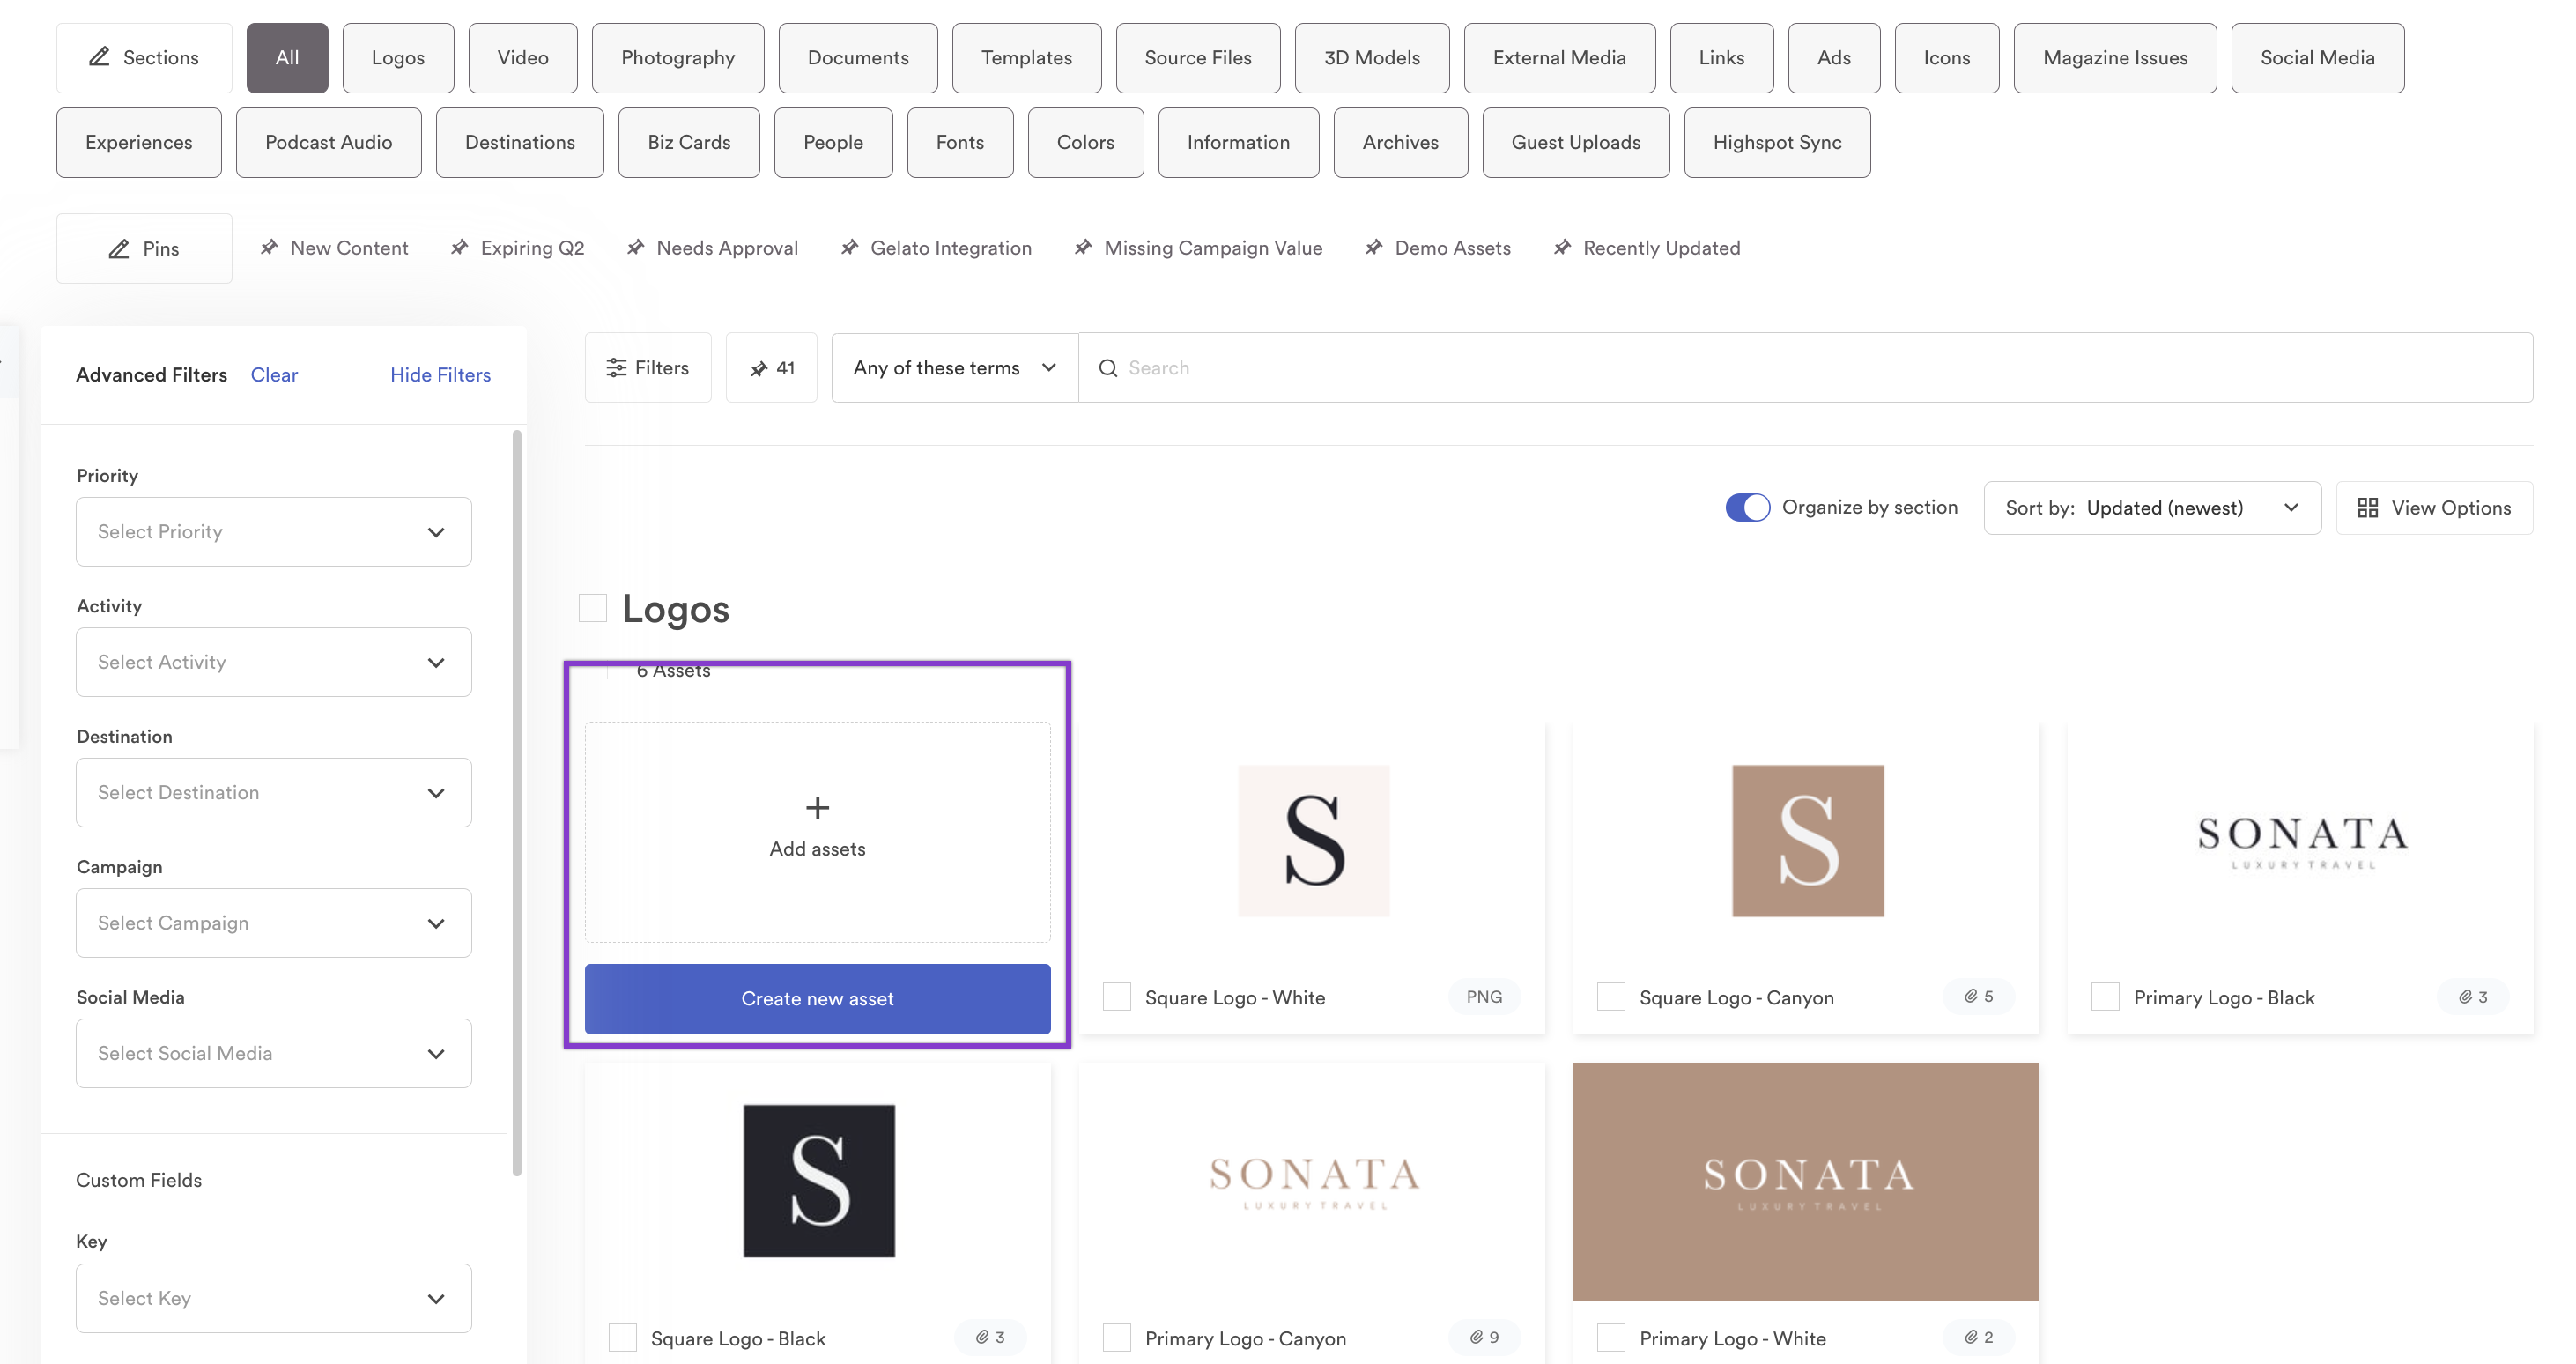
- If your organization has required custom fields, fill those out.
You can add more assets to the upload from anywhere listed on the left-hand side of the uploader: Dropbox, Box, Google Drive, Link, or an FTP.
Brandfolder Image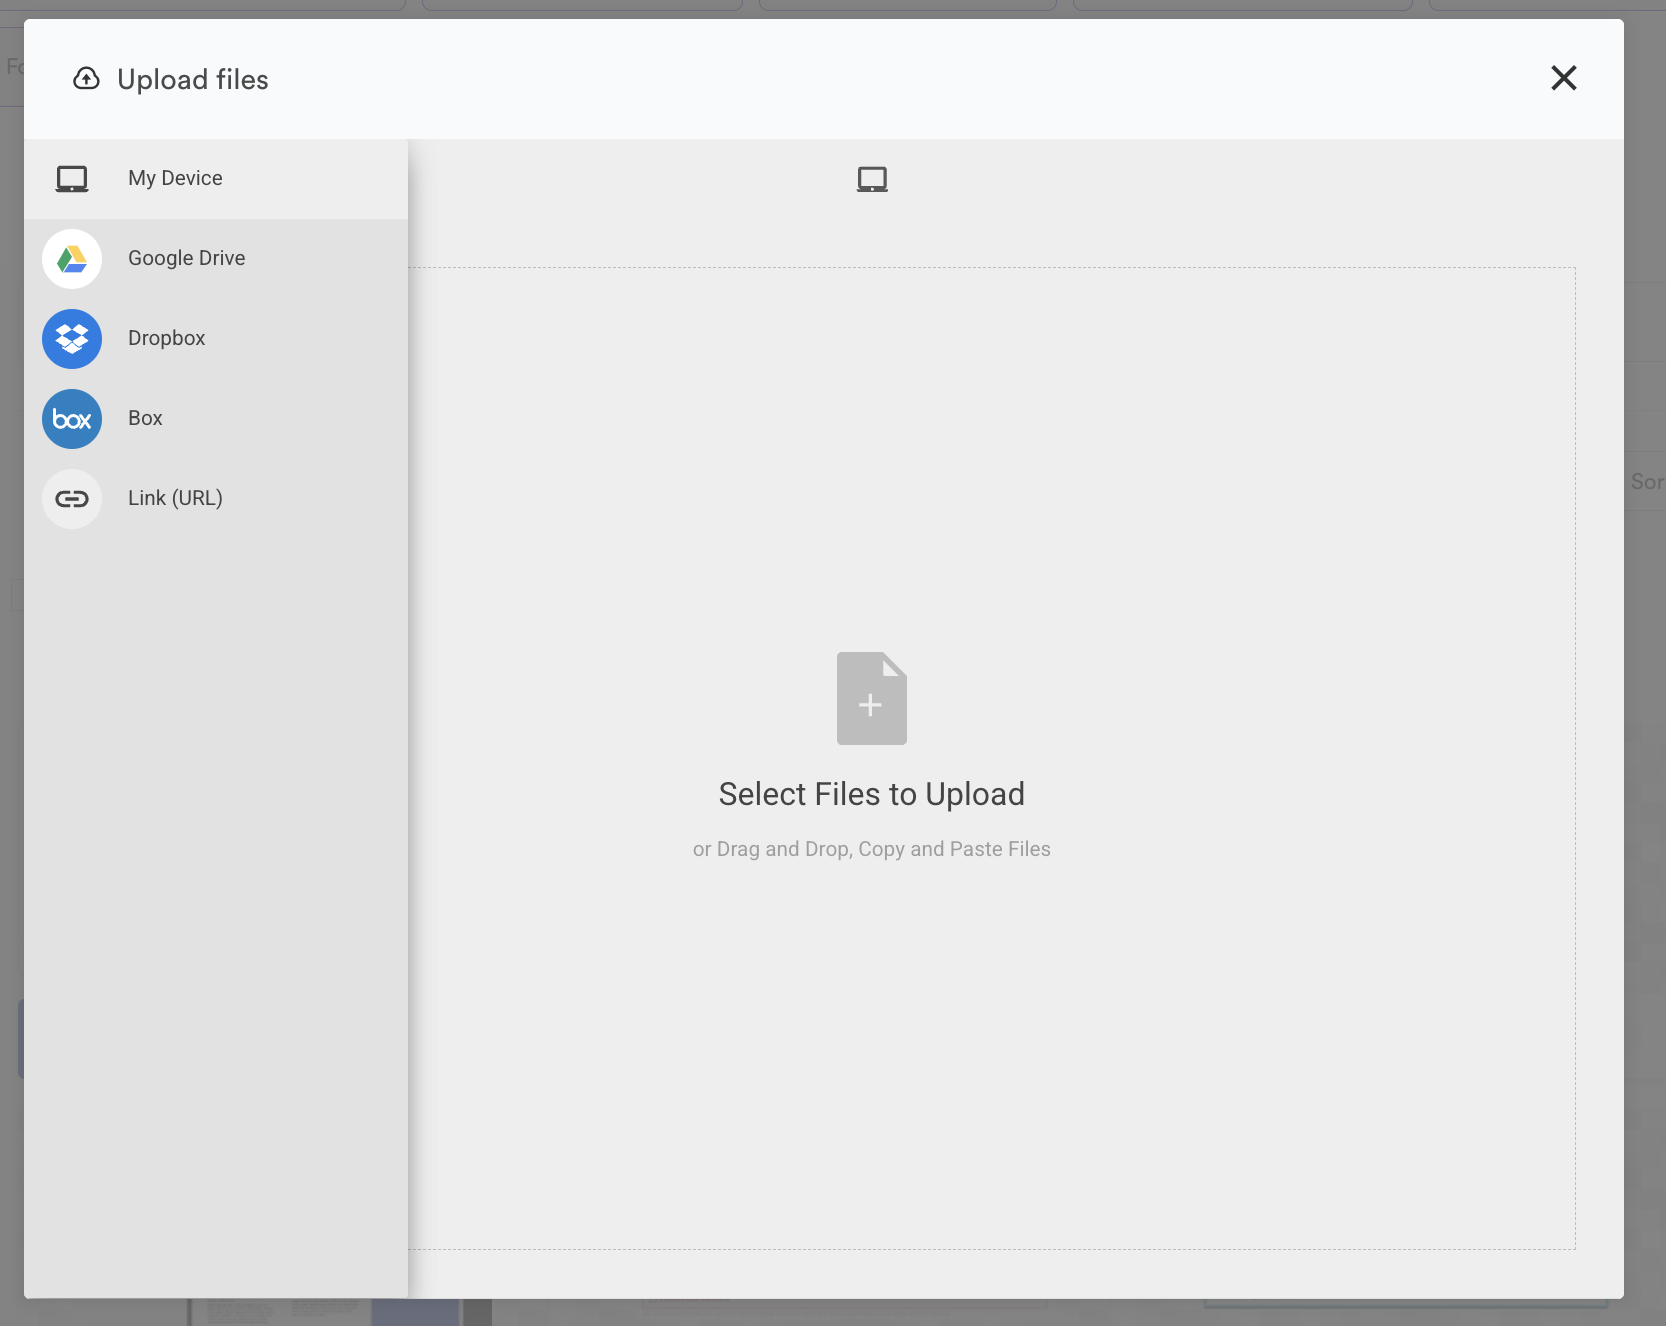
- Select Upload.
After you upload assets, notice that the asset is automatically selected. Be careful to keep or remove the selection before adding labels, tags, custom fields, and more.
Edit assets
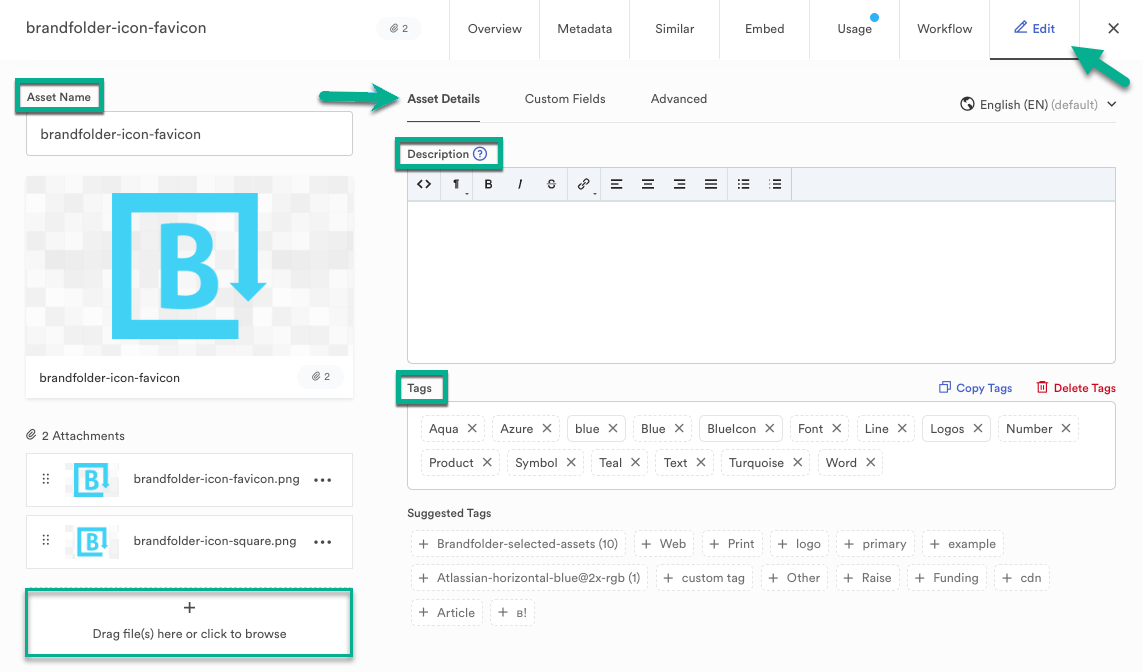
Easily edit individual assets in Brandfolder by selecting an asset and navigating to the Edit tab.
You can edit asset details, custom fields, and other advanced options or add new attachments using the uploader box on the bottom left side of the modal.
Under Asset Details, you find several editable fields/items listed here, such as:
- Asset Name
- Description
- Tags
Under Custom Fields, you can attribute any custom fields you set up for your Brandfolder for this particular asset.
Under Advanced, you find several editable fields/items listed, such as:
The recommended dimensions for the custom thumbnails are 375px X 160px.
- Custom Watermark
- 360 Viewer
- Asset Background Color
The Default for the Asset Background Color is gray and white checkerboard (transparent) or white, or you can pick your hex color.
Merge assets
Once assets are merged, they can't be unmerged.
All attachments, fields, and tags are mered into the destination asset (the one you choose in the dropdown of the Merge option).
- Select assets you would like to merge by clicking the checkbox in the bottom right of each asset
- Select the Merge button in the bulk actions bar in the bottom right.
Users can open the asset modal to download individual attachments or all attachments. The edit tab of the asset modal allows users to reorder the attachments if needed.
The name and description of the destination asset remain the same, but the names and descriptions of the other assets being merged are lost.
It is recommended not to merge more than 49 assets together.