In addition to the default roles, the Okta integration supports Smartsheet Premium Connectors, which are listed below. Ensure these connectors are enabled for your plan before mapping and provisioning the Smartsheet roles through Okta. Contact your Customer Success Manager or Account Team to purchase and enable these features.
The Smartsheet Premium Connectors in the table below are omitted by default in the list of Attributes for the Smartsheet User Profile.
| Smartsheet Roles | Mapping Values | Variable Names (Preferred) |
|---|---|---|
| Smartsheet Unlicensed User * | SMARTSHEET_USER | smartsheetUser |
| Smartsheet Jira User | JIRA_USER | smartsheetJiraUser |
| Smartsheet Jira Admin | JIRA_ADMIN | smartsheetJiraAdmin |
| Smartsheet Salesforce User | SALESFORCE_USER | smartsheetSalesforceUser |
| Smartsheet Salesforce Admin | SALESFORCE_ADMIN | smartsheetSalesforceAdmin |
* If you have a Legacy Collaborator Model plan, assign all users the SMARTSHEET_USER role. This ensures users can sign in to Smartsheet and are correctly provisioned. Also, verify that all other Smartsheet roles match the User List report from your Admin Center.
If you're unsure about your model type, learn how to determine the model your plan is on.
To add the Smartsheet Premium Connectors to your list of Attributes:
In Okta, go to Directory > Profile Editor.
Brandfolder Image
Select the Smartsheet User profile created for this integration.
Brandfolder Image
Select Add Attribute.
Brandfolder Image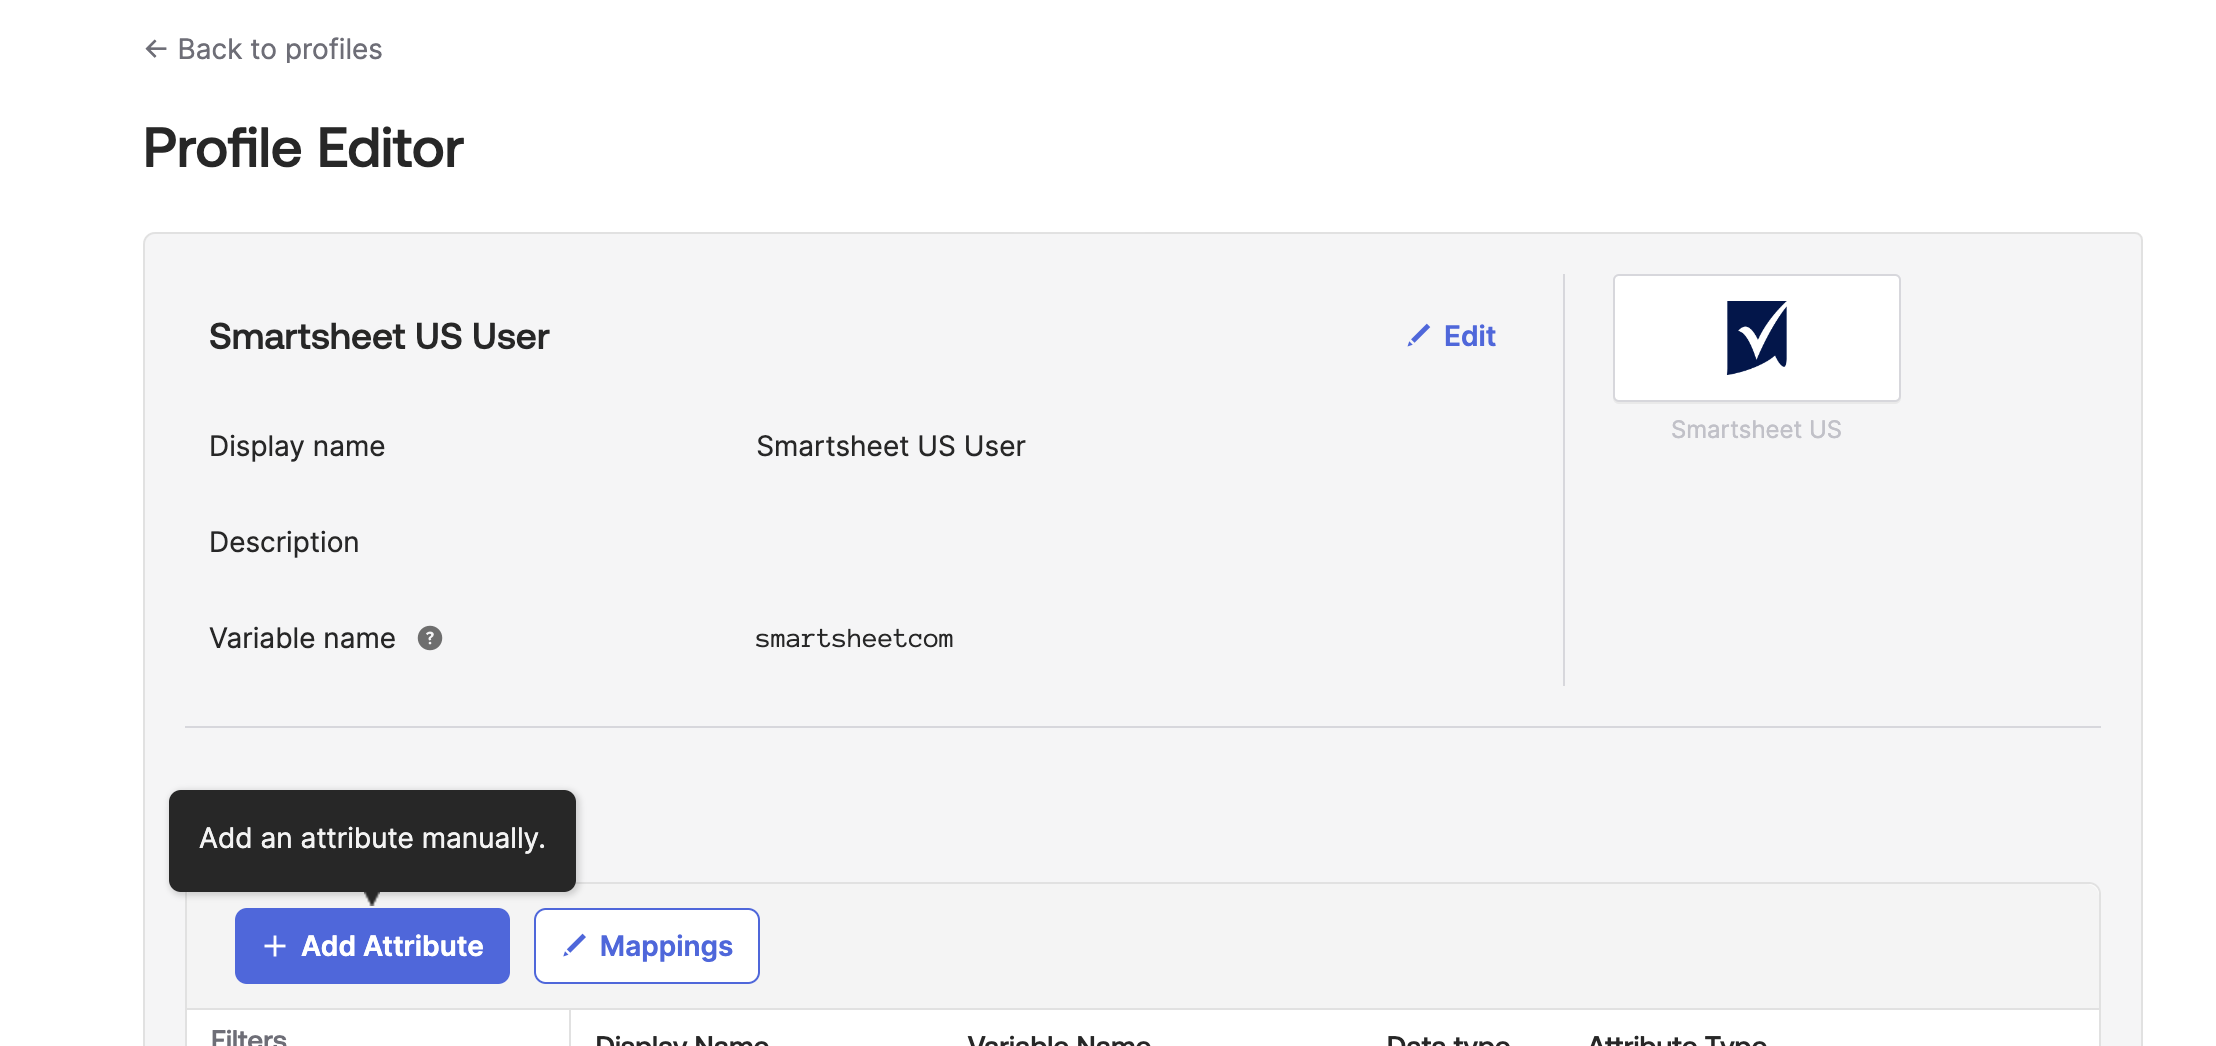
- For each field, refer to the Smartsheet Roles indicated in the table above. For example, for the Smartsheet Jira User role, use the following settings, making sure the spelling and capitalization are correct:
- Display name: Smartsheet Jira User
- Variable name: smartsheetJiraUser
- External name: roles.^[type=='JIRA_USER'].value
- External namespace: urn:ietf:params:scim:schemas:core:2.0:User
Save your changes and add the other attributes. You don't need to change any of the other parameters.
Brandfolder Image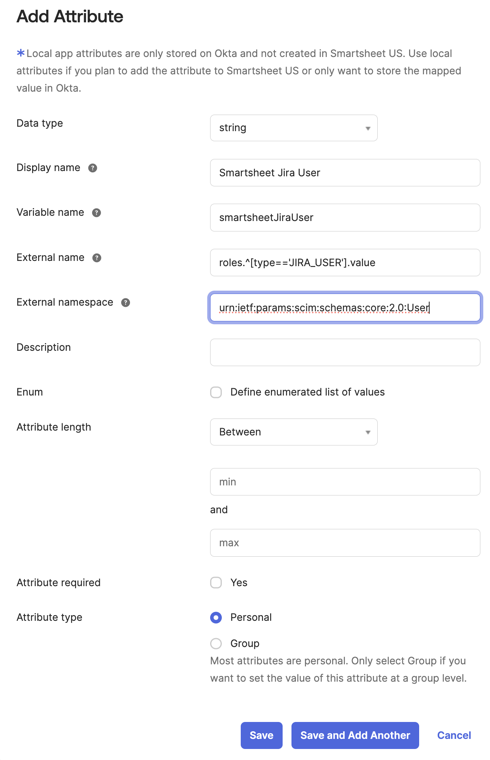
For each Smartsheet User Attribute, change the External name type. Notice how the type is denoted with a double equals sign. The External namespace will be the same for all attributes. Here's how the list of Attributes appears once you’ve added all four Smartsheet Premium Connector roles.
Brandfolder Image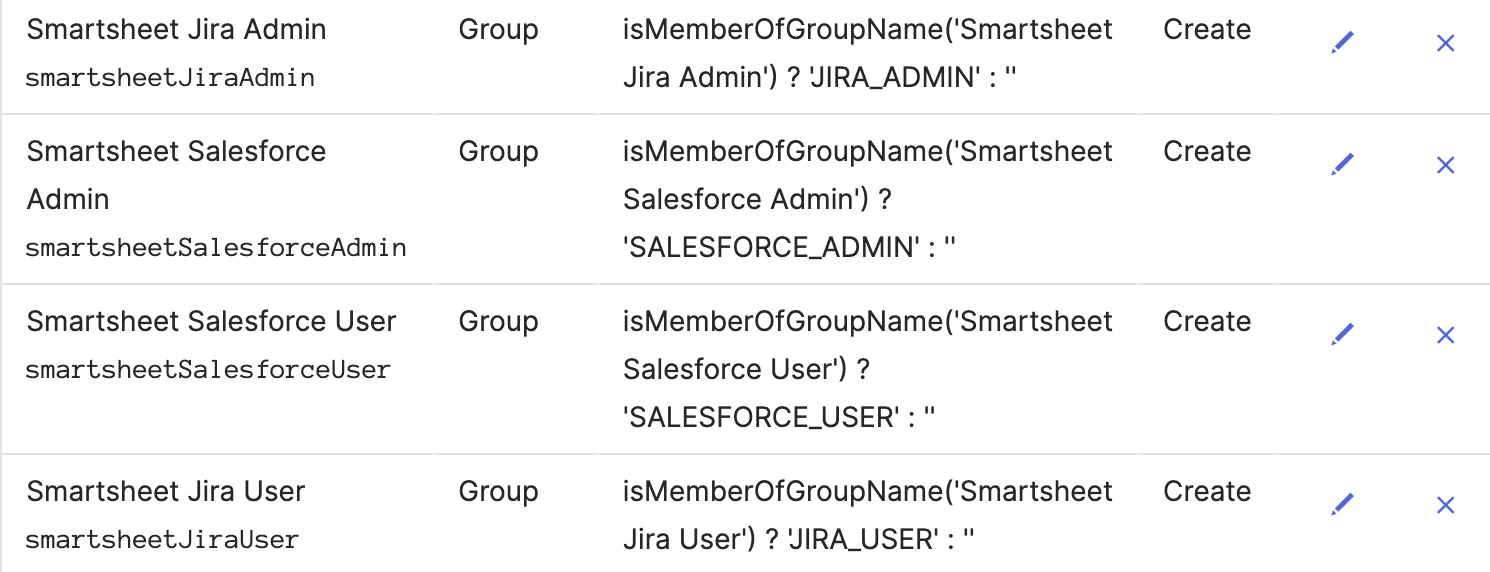
- Select Mappings > Okta User to Smartsheet mappings to update the mappings.
- For each Smartsheet Premium Connector role mapping, add an expression with the Smartsheet Premium Connector related value. Here are the expressions for all four Smartsheet Premium Connector roles. Make sure that the spelling is correct.
- isMemberOfGroupName('Smartsheet US Jira User) ? 'JIRA_USER' : ''
- isMemberOfGroupName('Smartsheet US Jira Admin) ? 'JIRA_ADMIN' : ''
- isMemberOfGroupName('Smartsheet US Salesforce User) ? 'SALESFORCE_USER' : ''
isMemberOfGroupName('Smartsheet US Salesforce Admin') ? 'SALESFORCE_ADMIN' : ''
Brandfolder Image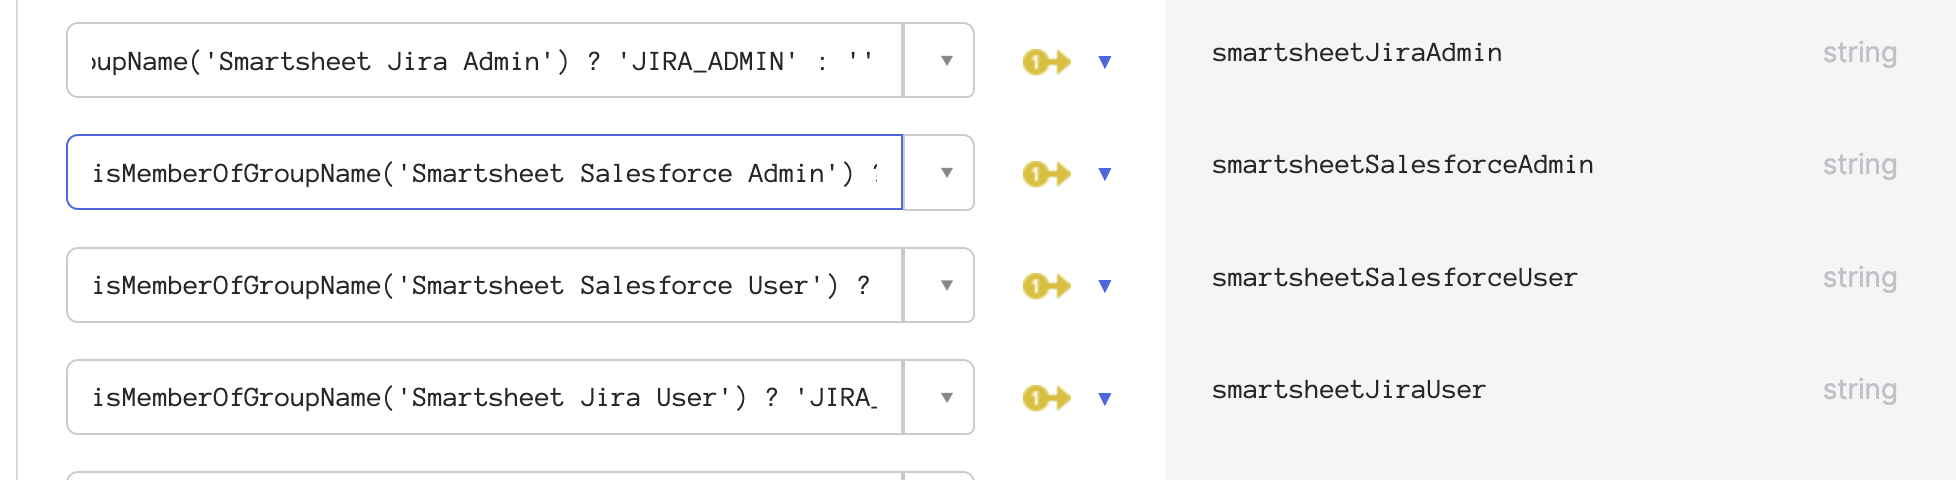
- Preview the mappings for a user that assigned all of the roles. This example uses Group IDs to check Okta group membership.
- If the mappings look correct, apply the mapping changes and provision these Smartsheet Connector roles through Okta.