USM Content
Customize sections
USM Content
Organize assets into sections
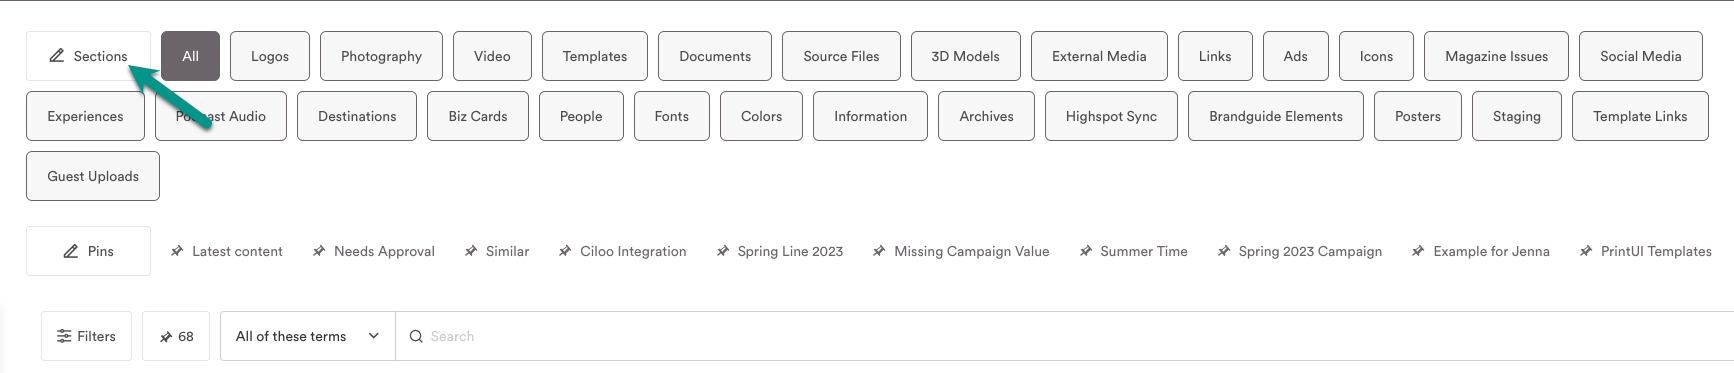
Sections appear across the top of your Brandfolder and Brandfolder Collections.
They're the broadest way of organizing assets in Brandfolder and are commonly used to separate assets by category, type, or purpose. For example, a single Files section might be too broad, making it harder to find specific types of images. Instead, you might create one section called Product Shots and one called Event Images to keep these assets separate and easier to find.
Sections allow you to provide more refinement, organization, and customization beyond the standard sections of a Brandfolder. For example, you might create:
- A People-based section named Leadership Team
- A File-based section named Product Shots
- A File-based section named Sales Sheets
- A File-based section named Presentations
- An Information-based section named About Us
- An External Media-based section named Product Videos
- A File-based section named Fonts, where you upload raw font files not available in the Web Fonts section
You can have up to 75 sections, and 10,000 assets in each section.
Add sections
- Select Sections on the left.
Select + Add a new section.
Brandfolder Image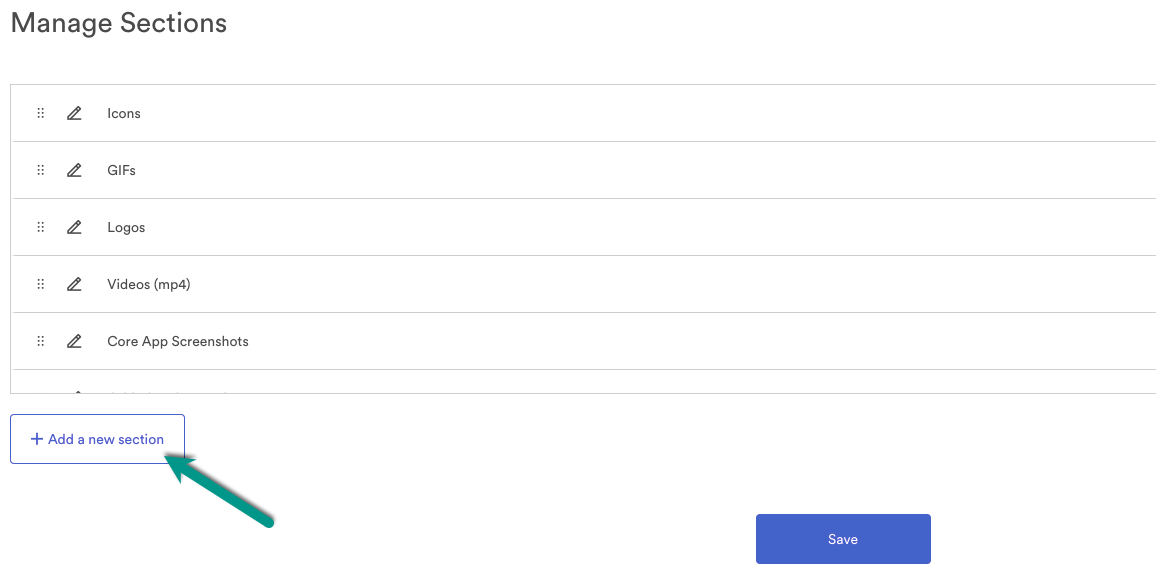
- Name the section and select the asset type from the drop-down menu. The most common asset type is files. Once these two fields are complete, select + Add section.
- Your new section now appears with other sections. Select Save at the bottom of the screen.
Edit sections
- Select Sections.
- To the left of each section is a move-to button and a pencil/paper button. The move-to button allows you to reposition the sections in a different order. The pencil/paper button enables you to rename the section.
To the right of each section is a Delete button. Select it to remove or delete a section.
If you delete a section with assets, all the assets are also deleted.
- After using each function, select Save.
If you have multiple sections, Admins can modify your settings to display your sections as a drop-down menu. Go to Settings > General Settings > Display Sections As drop-down. Refresh your page to apply these changes.