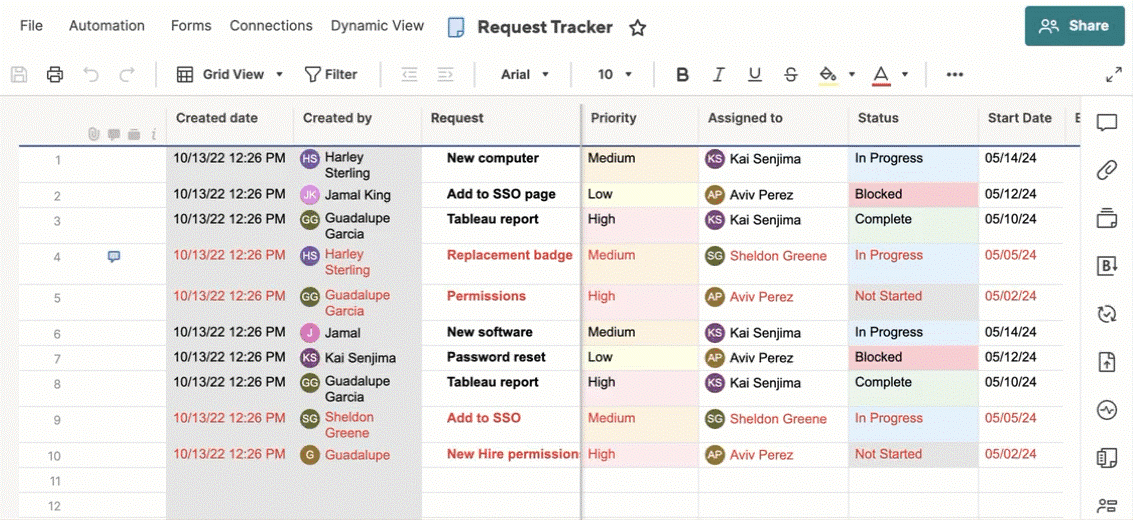
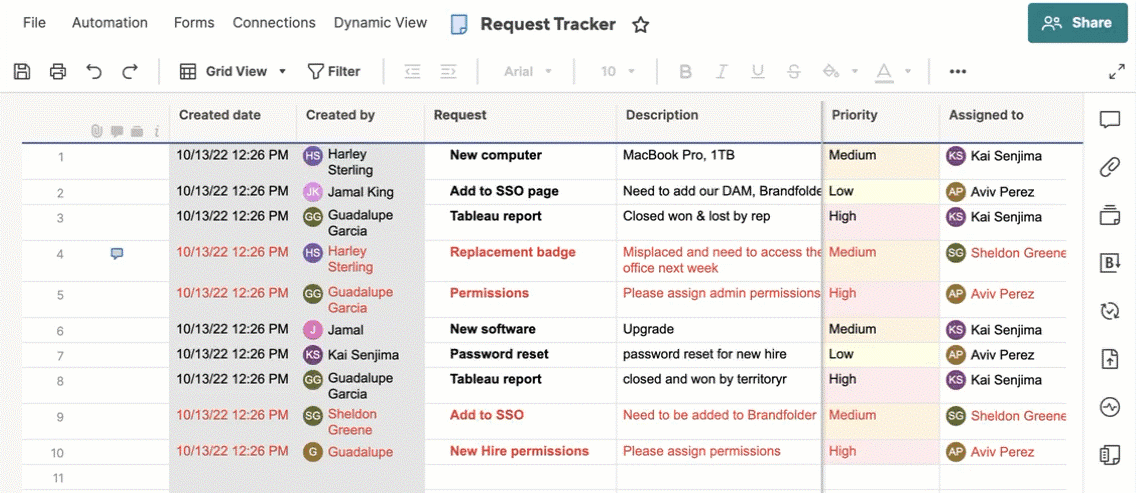
Users can insert or delete single or multiple rows in a sheet to organize their data.
Users with Owner, Admin or Editor level permissions can add or delete rows on a sheet. Editors cannot delete locked rows.
Insert a row
- To insert a single row in a sheet, right-click on a row number and select Insert Row Above or Insert Row Below. A new, blank row will be inserted above or below the selected row, according to your selection.
- You can also select a cell in a row and press Insert (Windows) or Control + I (Mac).
A sheet can contain up to 20,000 rows, 400 columns, or 500,000 cells (whichever limit is reached first).
Insert multiple new rows
To insert multiple rows at once:
- Select the first row, hold down the Shift key, and select the last row you want to select. This will select all the rows in between the first and last row you clicked on.
- Select the drop-down arrow to the right of any highlighted row number and select Insert n Rows Above or Insert n Rows Below.
- The same number of rows that you selected are inserted as new, blank rows above or below your selection, respectively.

Note:
- Smartsheet displays only 50 rows by default on newly created sheets; however, new rows are automatically added if you import or paste a larger dataset into a sheet. Additionally, if you enter data in the last row, additional rows are also added automatically.
- Row height isn't adjustable, but you can wrap text to display more information in each cell.
- New rows may automatically inherit formatting and formulas due to the auto-fill functionality in Smartsheet. Click the Undo icon in the left toolbar immediately after inserting a new row to remove the automated formatting.
- Use the Indent and Outdent buttons in the left toolbar to create a collapsible row hierarchy.
Delete a row
- To delete a row, select the drop-down arrow to the right of the row number and select Delete Row.
- To clear the content of a row without deleting the row, select the row's number and then press Backspace or Delete.
- You can use the Undo button to restore deleted or cleared rows as long as the sheet has not yet been saved.
Delete multiple rows
Consecutive rows
To delete multiple consecutive rows, select the top row's number, scroll down to the bottom, then press the Shift key on your keyboard as you click on the bottom row's number. When you release your click, all of the rows in between will be highlighted, and you can select the drop-down arrow next to any highlighted row's number and select Delete Row to delete them all.

Nonconsecutive rows
To delete multiple nonconsecutive rows, hold down the Ctrl (Windows) or Command (Mac) key on your keyboard and select the row numbers for the rows you want to delete. Then, select the drop-down arrow to the right of any of the highlighted row numbers and select Delete Row.
Another way to delete nonconsecutive rows is to first apply a filter to the sheet, and then follow the steps to delete the displayed rows. Learn more about using filters to show or hide sheet data.