When you print a PDF, you can print the entire sheet to print all rows, or you can print only selected rows.
Printing with filters applied
If there is a filter applied, printing the entire sheet prints the filtered view.
To print a sheet with an unnamed filter:
- Turn all filters off then apply the unnamed filter.
- Select all visible rows.
Select the print icon .
Brandfolder Image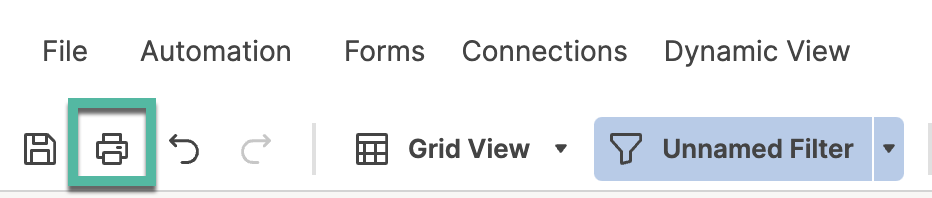
- Select Selected Rows and adjust any additional settings.
- Select OK
If you have viewer permissions, printing the entire sheet with an unnamed filter applied prints the previously applied view (either a shared filter or unfiltered view). To print an unnamed filter as a viewer of the sheet, turn all filters off then apply the unnamed filter. Then, select all visible rows and print selected rows.
Selection
The selected rows option prints only the rows you selected before you selected Print, and it is only available if you select rows prior to selecting Print. The entire sheet option prints all rows.
To select a single row, select its row number. To select multiple rows in sequence, hold down the Shift key and select the first and last row of the range you'd like to highlight. To select multiple rows that are not in sequence, hold down the Ctrl key while selecting each row number you'd like to highlight.
This option isn't available from Calendar View.
Date range
The date range option is available in Gantt view or calendar view.
When you specify a custom date range for a Gantt chart, the timeline in the PDF will adjust to show dates between the entered start and end date.
When exporting a PDF of your sheet in Gantt view, the custom date range settings will control the range of the Gantt chart timeline, but it will not filter out the rows. To ensure that rows outside your date range are not included in the PDF, you can apply a sheet filter or use the Selection settings in the PDF setup.
In calendar view, the resulting printout will include the specified range but may also include additional days to provide a minimum of four weeks.
If you have specified a custom date range, the time span shown will depend on what you've chosen for the primary timeline display. You can change the primary timeline display from years to quarters or weeks, for example, to narrow the printed timeline.
Paper size
Select a paper size appropriate for your printer.
Margins
Select a smaller margin size if you wish to fit more on each page.
Orientation
The default option of landscape will allow your Gantt chart to be printed across the length of the chosen paper size. Portrait will print across the width of the chosen paper size.
Scaling
Use scaling to better fit the sheet data onto a printed page:
- Scale: By default the data is displayed at 100% of its size. You can increase this number to magnify, or decrease it to scale down, the size of the data as needed.
- Fit to Width: Automatically scales your selected data to fit the width of one page, with the length potentially extending to additional pages.
Scaling is not available for Calendar View.
Options
Select the items in the Options section of the print setup (PDF) form to further refine what appears in the PDF file. Here are some things to keep in mind as you use options:
- Columns to be Included: Available only from Gantt View. By default, only the primary column is included when printing a Gantt chart. To select additional columns for printing, click the underlined column name or the Edit button.
- Include Comments: Comments will be printed on separate pages after the printed Grid, Calendar, or Gantt View data.
- Include Row Numbers: Include row numbers in the PDF (this option is not available when printing from Calendar View).

