With Bridge you can find a row’s latest comment and bring that information into a cell in the same row in Smartsheet.
This can be useful when you use Smartsheet to summarize the overall status of active projects or jobs and ensure that you always look at the latest status left in a comment.
- Workflow trigger: Smartsheet - When Comments Are Added
- Templates used: Bridge- Expose Last Row Comment
Steps to complete:
- Deploy the template.
- Set up the workflow trigger.
- Optional setup.
At the end of this article, you'll see an example sheet. Ensure that your sheet has a text column titled Last Row Comment. You can also follow the Optional Setup instructions to change which column the workflow updates.
1. Deploy the template
- In the Solution Center, find the template Expose Last Row Comment and select it.
- Give your workflow a name.
- Select Deploy.
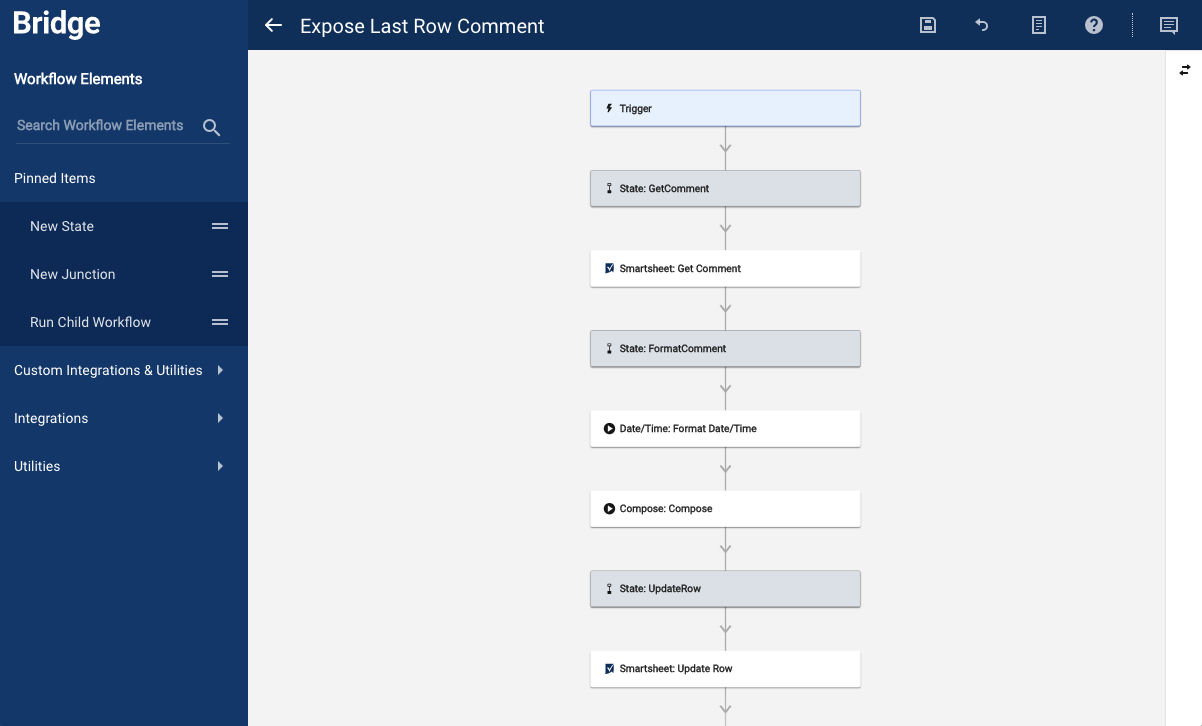
The workflow template will appear in your workflow builder, as shown below. There, you can start customizing it according to your needs
2. Set up the workflow trigger
- Select the Trigger element at the start of the workflow.
- Under the Integrations section, select the link to the Integrations Page.
- Find the Smartsheet integration and select the logo.
- Once authenticated, select the Triggers tab and expand the Triggers.
- Select Add to Triggers.
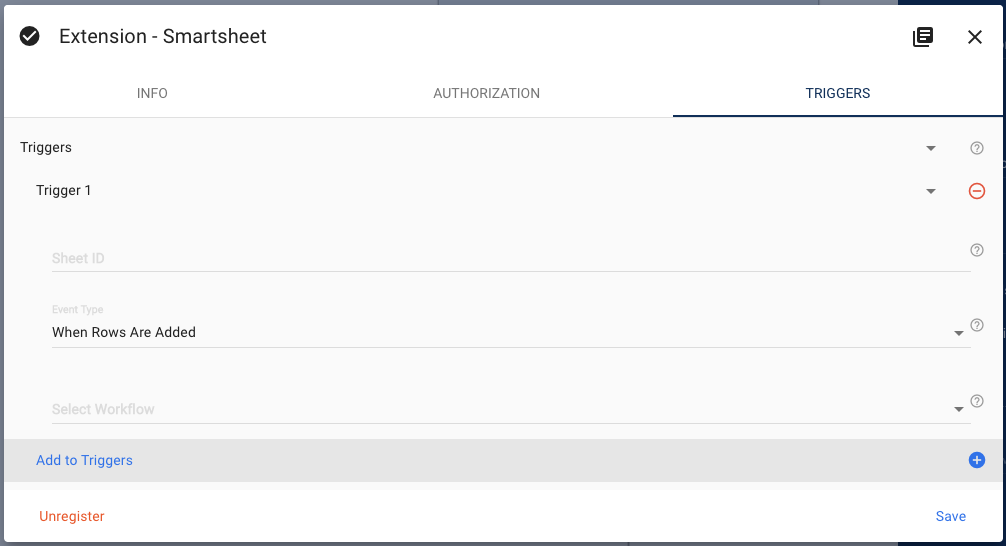
In the Sheet ID field, enter the unique sheet ID. If you know the sheet name is unique, you can simply type in the name.
Find the sheet ID by navigating to your sheet and selecting File > Properties.
- Select the Event Type When Comments Are Added.
- Select the workflow that should be triggered in the dropdown.
- Select Save and return to the designer in the original tab.
3. Optional setup
Set the comment column name
If you’re not using the Smartsheet template, or you want to rename the comment column in the sheet you’re using, set the name of the column that should receive the comment text in the workflow:
- Select the Update Row element in the workflow.
- Expand the Cells section.
The Key #1 field is set to Last Row Comment by default. You can change this by typing in the column name that you want Bridge to expose the last comment in.
Make sure to spell it exactly as you do on your sheet.
- Select Save.
Test the workflow by navigating to your sheet and entering a comment on any row. The comment should appear in the specified column on the same row.
You can also see the workflow trigger and the executed steps in the Run Log.
Reformat the last comment posted
The workflow can also add information about the user who commented and the time they did so. If you don't want to show this information, or if you want to change it, select the Compose Text module in the workflow. In the text field, you can format what appears in the cell.
By default, it references the comment text, the email of whoever commented, and the timestamp for when the comment was made. This data is brought into the workflow by the Get Comment module. If you run the workflow once, you can copy references to any other information you want to include via the Run Log module.
Change the date format in the posted comment
You can change the timestamp format by selecting the Format Date/Time module.
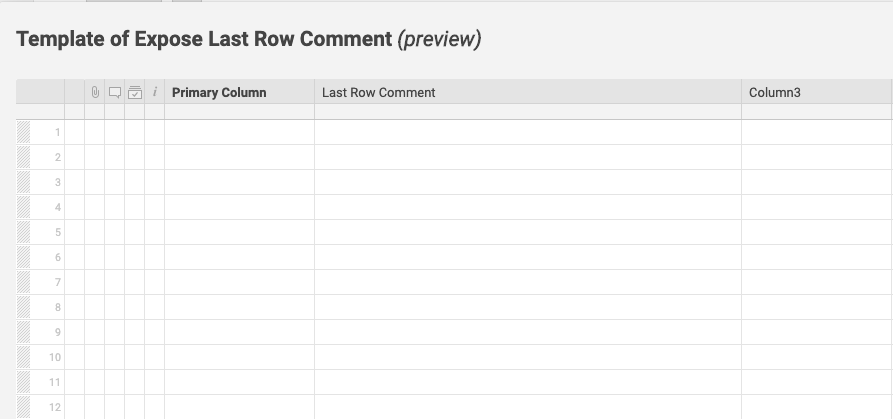
Example sheet
The screenshot below shows the sheet used when building this example.
The column Last Row Comment is used in this workflow, so if you want to create this example, make sure you have a column with the same title in your sheet, too.