Applies to
- Pro
- Business
- Enterprise
Capabilities
Who can use this capability
You must be a licensed Smartsheet user with Owner or Admin-level permission on the sheet.
Automate processes with visual workflows
You can automate a significant amount of work and processes with a series of connected actions, such as approvals that are visually represented on a single screen. Here’s an example of a powerful automation that can be achieved in a single workflow:
- A technical writer finishes a rough draft and marks their task as complete in Smartsheet.
- This triggers an approval request to be sent to the appropriate tech reviewer based on the topic of the article.
- When the tech reviewer approves the draft, another approval request is automatically sent to the web team to review and approve the new article for publishing.
- When published, the content director receives an automated alert that the new content has been published.
What you can do and where you can apply workflows depends on your permission level. Learn about workflow permissions.
Set up your workflow
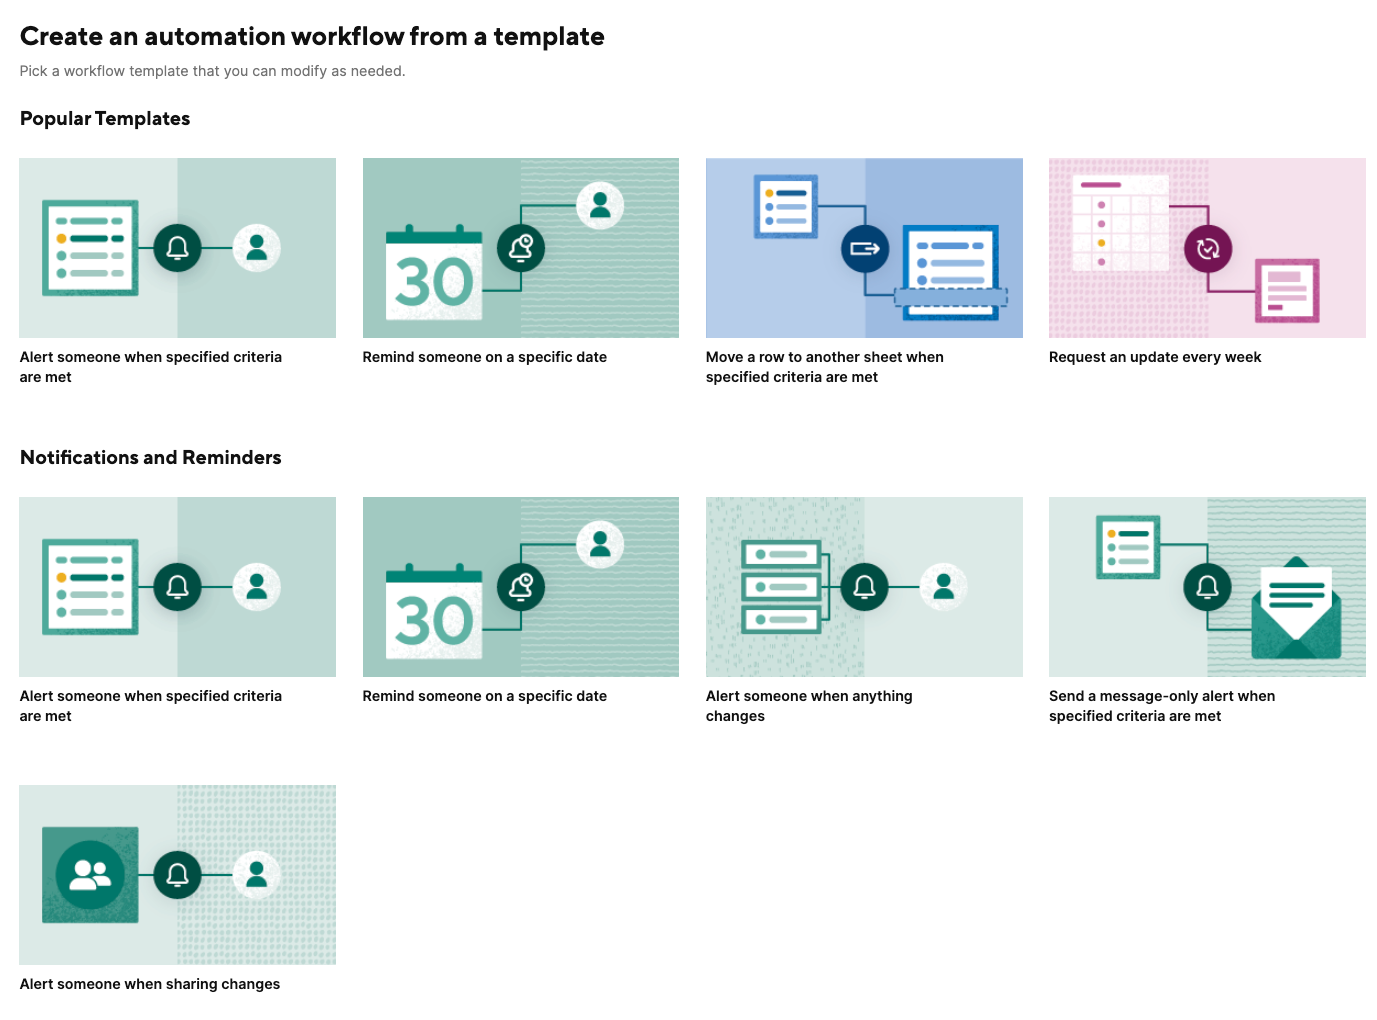
The workflow gallery includes templates for commonly used automation scenarios. Each template includes tips on how to customize it for your purposes. You can build workflows from scratch, but the templates provided can help you use automated workflow processes in no time.
To access the template gallery:
- In the upper-left corner of your sheet, select Automation and then select Create workflow from template...
To create a workflow from scratch:
- In the upper-left corner of your sheet, select Automation and then select Create workflow...
The workflow editor appears.
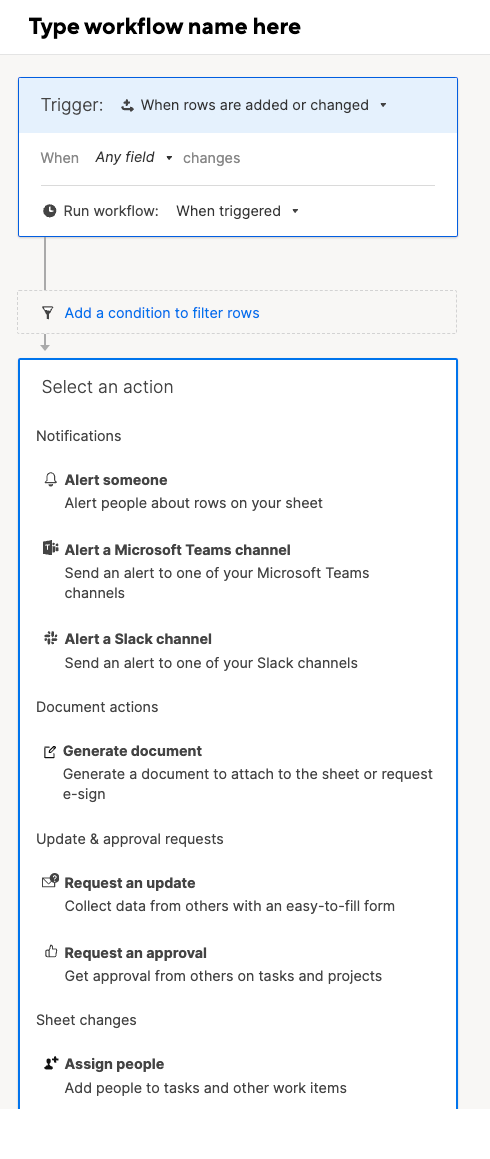
In the workflow editor, you can configure the trigger block, condition paths and blocks, and action blocks to build your workflow.
- In a workflow, a block refers to any object which occupies space in the workflow editor.
- Blocks are connected by paths indicated by the arrowed lines between blocks. There can be multiple conditional paths in a single workflow which lead to different outcomes or actions based on the conditions of each path.
Customize your workflow with condition and action blocks and paths
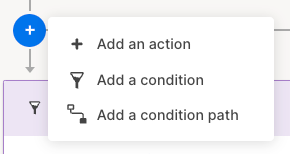
Select the Add button to insert new paths and blocks to the workflow to meet your needs:
- Add a condition: Filter which rows are included in the workflow path
- Add a new condition path: Define an alternate route for your workflow to take if the first condition isn’t met
- Add an action: Define what you want your workflow to do when your conditions are met
TIPS:
- When there are multiple paths, each condition block at the beginning of each path is evaluated in sequence from left to right. The leftmost condition block that the row meets will define which path the row takes through the workflow, immediately evaluating any subsequent condition and action blocks on the chosen path.
- At least one action block must be added at the end of each path. After an action block, you can define additional conditions and paths if needed as long as they are followed by another action block.
To prevent infinite approval loops, cells that contain cross-sheet formulas or cell links will not trigger an automation which automatically changes the sheet (Move Row, Copy Row, Lock Row, Unlock Row, Approval Request). To work around this, consider using time-based automation or recurrence workflows.
Trigger blocks: Define what kicks off your workflow
You can define the criteria that will trigger your workflow. Triggers include:
- When a row is added or changed
- When a row is changed
- When a row is added (this won't trigger for changes in existing rows)
Select Specify a change to ensure that only certain changes in the columns you choose will trigger the workflow. For example, you can create a workflow that is only triggered when a row is marked “Complete” in the Status column.
In the Run workflow dropdown, you can adjust whether the workflow will run immediately, hourly, daily, or weekly when triggered. Workflows set to run daily will evaluate changes to the sheet and execute between 12:00 AM and 4:00 AM in the sheet Owner’s timezone. (Weekly workflows will run on Friday’s between 12:00 AM and 4:00 AM.)
If multiple rows are changed when the sheet is saved within the timeframe of the selected frequency, then the workflow will run for every row that meets the trigger criteria.
Action blocks: Specify what kind of automation is triggered
With an action block, you can choose what type of alert, request, or other automation you want your workflow to perform when triggered. Use the following table as a reference for what types of actions these perform.
Use this type of alert or action | In this situation |
Alert |
To be notified on key changes in specific columns For a person to be notified when they’re assigned to a new task To know when columns are set to a specific value (for example, a Status dropdown column is set to “Blocked”) |
Approval Request |
For sign-off from a key stakeholder on a specific task For someone to approve or decline an item (for example, Director approval on a project proposal) For approval on an item that meets a certain criteria (for example, Finance approval when an item's cost is over a certain amount |
Update Request |
To automatically ask for the latest information for a current item once a value changes in a specific column (for example, when the status on a row changes to “In Progress,” request that the assignee update the Start date) To automatically request an update to multiple cells in a row |
Automatic Row Lock |
To prevent further edits after an item has been approved To prevent further edits after a task has been completed or closed |
Automatic Row Unlock |
Mitigate mistakes in your process by preventing items from being edited until prerequisite steps are completed |
When you add an action block, you’ll choose which type of action you’d like to use. If you select an action type and you’d like to change it, then click the Menu icon in the upper-right corner of the block to change the action.
After clicking the Menu icon, you van click Advanced options to configure which columns are displayed in the alert or request.
Request approvals in sequence
If you want to request approval from stakeholders and set up actions sent in sequence rather than all at once, you can set up multiple Approval Requests in a single path. Approval Requests will pause the workflow until they are Approved or Declined. Once the Approval status is updated, the workflow will continue through subsequent conditions and actions on the path defined by the outcome of the Approval Request.
Actions connected to the outcome of an Approval Request are executed by the Approval Request status entering Approved or Declined and do not take into account any of the conditions defined before the Approval Request. Since the workflow trigger and subsequent condition blocks between the trigger and the Approval Request can be bypassed if someone manually changes the approval status column in the sheet, it is best practice to either lock your Approval status columns in the source sheet, or refrain from sharing the sheet to people that you need approval from.
Condition Blocks: Filter what you send
Between trigger blocks and action blocks, you can define conditions to filter which rows will be included in the resulting alert or action. You can also add conditional paths to define different alerts and actions in your workflow based on the criteria you specify. For example, when a new IT request ticket is added to a sheet through a form, you can send different alerts and requests to specific recipients depending on the department, priority, and request type specified in the ticket.
Within a condition block, you can click the blue text between your conditions to define whether only one condition needs to be met (or) or all conditions must be met (and) before the row is included in the alert or request. If you want to mix and with or conditions, create multiple condition blocks on a single path.
Best practices for workflows
Set your triggers an hour ahead
Set your trigger to take place an hour before the action should take place. This will ensure that technical issues don't prevent the action from taking place on time.
Name and save your workflows
Once you’ve defined the workflow trigger, conditions, paths, alerts, and actions, you’ll be able to save your workflow. Type a name your workflow using the text field on the upper-right of the workflow editor so that you know what the workflow is used for.
Edit, clone, or delete workflows
After you’ve saved the workflow, you’ll see it listed on the Manage Alerts & Actions window. (Select Automation > Manage Workflows... ) In this window, you can deactivate (or activate), edit, clone, or delete a workflow.
When you clone a workflow, make sure you modify any approval requests so they’re either stored in a new column or use new values when approved or declined. If you don't change the way approval requests are configured in the clone, approvals in your original workflow may trigger approval requests in the new workflow.