Share a curated set of data or a collection of resources in a highly visual way with a dashboard.
There are three ways that you can give others online access to your dashboard:
- Drag the dashboard into a workspace from Browse.
- Share it directly with the Share button at the top of the dashboard
- Publish it with the Publish option in the File menu.
You can also print your dashboard by choosing Print from the File menu in the upper-left corner of your screen.
Store a dashboard in a workspace
You can share a dashboard with a collection of people by storing it in a workspace.
People with permission to edit content in the workspace automatically have permission to view the dashboard, but to edit the dashboard, they require admin permission.
People shared to a dashboard with Editor or Commenter permissions through a workspace can't edit the dashboard.
For more information about using a workspace for sharing, see Workspace Sharing and Moving Existing Items into a Workspace.
Publish a Dashboard
To publish a dashboard, select the Publish button in the upper-right corner of the dashboard.
A published dashboard automatically refreshes once every 10 minutes. This behavior can't be customized or deactivated.
Share a dashboard
- Open the dashboard that you want to share.
- Select the Share button at the top of the dashboard.
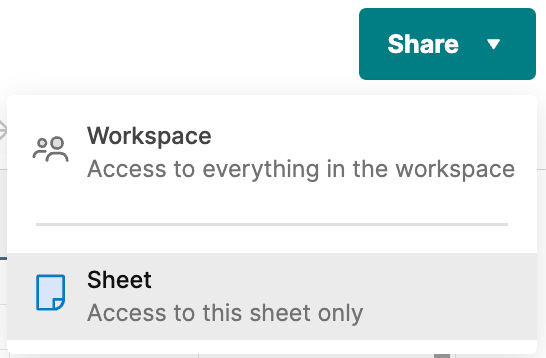
If your dashboard lives within a workspace, you can choose to share the whole workspace or just the specific Smartsheet item from the Share button dropdown.
- Under Invite people and groups, type or select the email addresses of the people or groups you want to share the dashboard with. Separate multiple email addresses with a comma or semicolon.
- In the Permissions box, select Admin or Viewer.
Dashboards only allow you to set Admin or Viewer permissions.
- Under Customize message, choose whether to send a notification email, to modify the subject line, or to create a personal message to clarify with collaborators about why you're sharing the dashboard with them.
- Select Share.
To change a collaborator's permission level or to stop sharing the dashboard with a collaborator:
- Select the Share button at the top of the dashboard.
- Open the Collaborators section, hover over the name of the person or group, and choose one of the following:
- To change the permission level, select a new one from the dropdown list.
- To remove the collaborator from the list, select the Remove From Sharing button (the X to the right of the permission level).