Use customized themes to personalize your dashboards based on your needs and using your branding. Create your own themes and share them with others in your organization.
Create a custom theme
If you’re a dashboard Admin, follow these steps to create and share your own custom themes. You can create up to nine custom themes per dashboard. Consider that once you apply a custom theme, any previous styling of your widgets gets reset.
- Open your preferred dashboard.
- Select the Edit (pencil) icon.
- Select the Dashboard theme (color palette) icon.
- Under Custom themes, select Create theme.
- Use the options displayed to choose whether to Create new or Import.
- Use the Edit theme panel to customize your canvas and widget colors, chart series, theme name, and description.
Select the back arrow next to Edit theme to return to the themes panel and review your custom theme.
- Select Save to save the theme to your dashboard.
To use your own brand colors, modify the Hex color code to match the color you want. The Theme section in the color picker includes all your theme colors, so you can manually customize a widget as well.
Custom themes aren’t supported in mobile.
Share a custom theme
After you’ve created a customized theme, you can export it to replicate it with other dashboards or share it with others through your preferred channels.
If your customized theme is ready, you can import it and start using it on your dashboard.
Export a theme
To export a customized theme:
- Use the Edit theme panel to create your theme.
- Once created, hover over the selected theme in the Dashboard theme panel.
- Use the three-dot menu to display the options and select Export.
- Locate the .json file in the Downloads folder on your computer.
- Save the file wherever you’d like or share it with anyone in your organization.
Alternatively, you can export a theme from the Edit theme panel. Select the three-dot menu and select Export. A file download begins automatically.
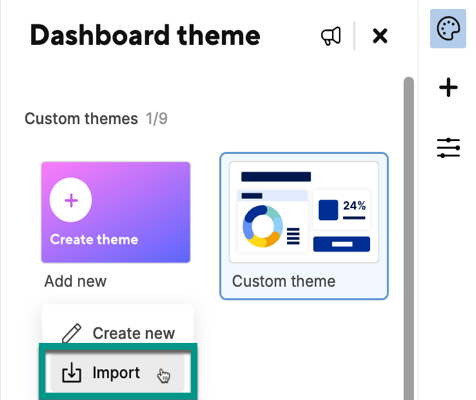
Import a theme
Follow these steps to import a custom theme.
After you’ve created and exported your theme, you can import it and apply it to any dashboard you want.
- Open your preferred dashboard.
- Select the Edit (pencil) icon.
- Select the Dashboard theme (color palette) icon.
- Under Custom themes, select Create theme.
- Use the options displayed to choose whether to Create new or Import.
- Select the .json file from your computer.
- The theme now appears in your Current themes section and is ready to use.
Alternatively, import a theme from the Edit theme panel. Select the three-dot menu and select Import.
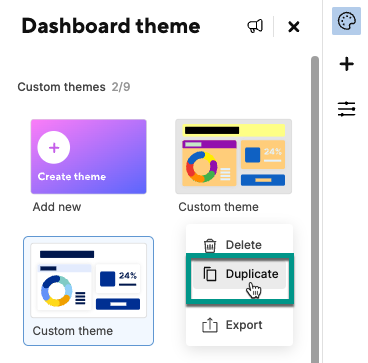
Duplicate a theme
To duplicate a custom theme:
- Open the Dashboard theme panel.
- Hover over the theme you want to duplicate.
- Select the three-dot menu.
- Select Duplicate.
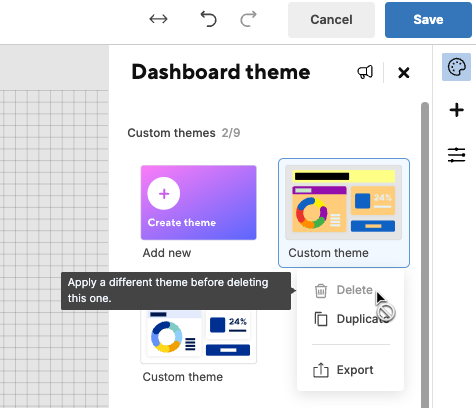
Delete a theme
To delete a custom theme:
- Open the Dashboard theme panel.
- Hover over the theme you want to delete.
- Select the three-dot menu.
- Select Delete.
Brandfolder Image
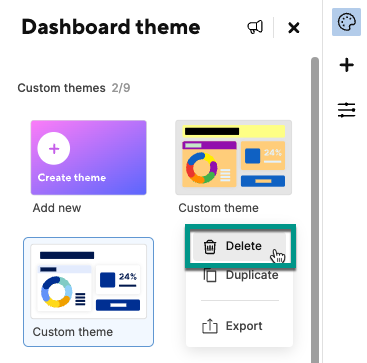
Keep in mind you can’t delete a custom theme if it’s the current theme of your dashboard.