You can add custom colors, a background, and a logo to the forms you build in Smartsheet.
Change the background
You can use a .png, .gif, or .jpg file up to 5MB in size for an image background.
- In the top left corner of the form builder, select the Format Background icon.
- Select either Color or Image.
- For Color, enter the hex value or select Change to open the color picker. Then select Apply.
- For Image, browse your computer for the file you want to use and then select Apply. You can also drag and drop your file onto the upload box.
Brandfolder Image
To prevent a blurry background image, make sure the image is high resolution and hasn’t been compressed before uploading
Currently, you can’t change the font type, font size, or the background color of an entire text box on forms.
Change the logo
Your logo can be a .png, .gif, or .jpg file up to 2MB or 240x60 px in size.
- Hover over the logo at the top of the form builder to reveal the Change Logo button, and select Change Logo.
- Select Browse, choose your logo, and then select Apply. You can also drag and drop your logo onto the upload box.
- Use the Show Logo toggle to show or hide the logo on the form.
Brandfolder Image
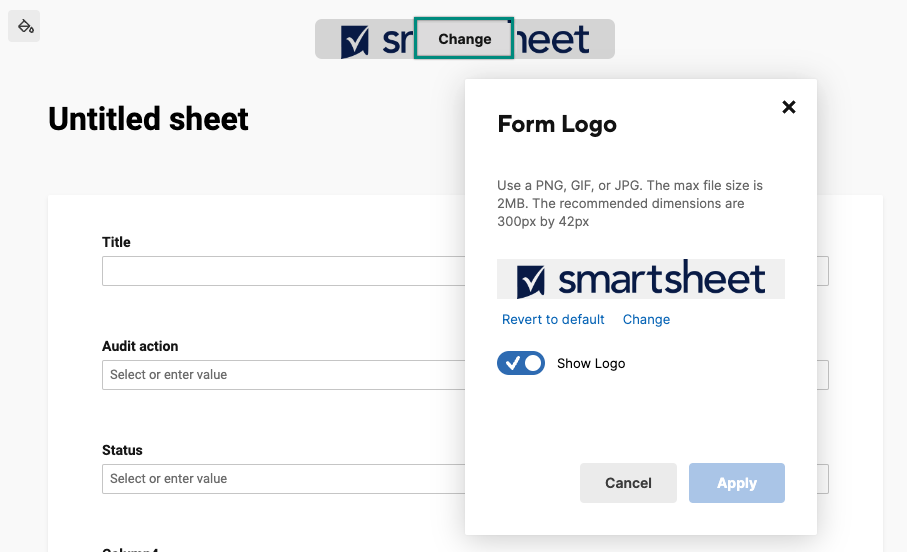
Revert to the default logo
- Hover over the logo at the top of the form builder to reveal the Change Logo button, and select Change Logo.
- Select Revert to default.

