Use Data Shuttle workflows to upload or offload data within Smartsheet or other applications.
You can establish Data Shuttle connection via the Connections menu on the navigation bar of the Smartsheet application or by selecting the button below.
System Admin workflow management
If you're a System Admin, you can:
See a list of all workflows created within your organization
Add or remove workflow managers
View configuration details
Pause any workflow
Archive any workflow
Delete and restore any workflow
View the activity log of any workflow
Use the workflow menu at the top of the screen to toggle between your workflows, your organization’s workflows, and archived workflows.
Keep in mind
- You can't edit workflows you don't own.
- You can't access the source or target sheets used in the workflows unless they are shared with you.
- You can't control permissions for external file locations from the Smartsheet Admin Center.
- Workflow owners are notified when an admin takes action on one of their workflows via the Notification Center or email, depending on the notification settings.
Edit a workflow
- Hover over the workflow and select the kebab
Brandfolder Image
 menu.
menu. Select Edit workflow.
If there was an error on the last workflow run or a workflow configuration error (the source sheet has been deleted, for example), Last run shows an error icon and message. To fix the issue, edit the workflow and re-publish it.
Brandfolder Image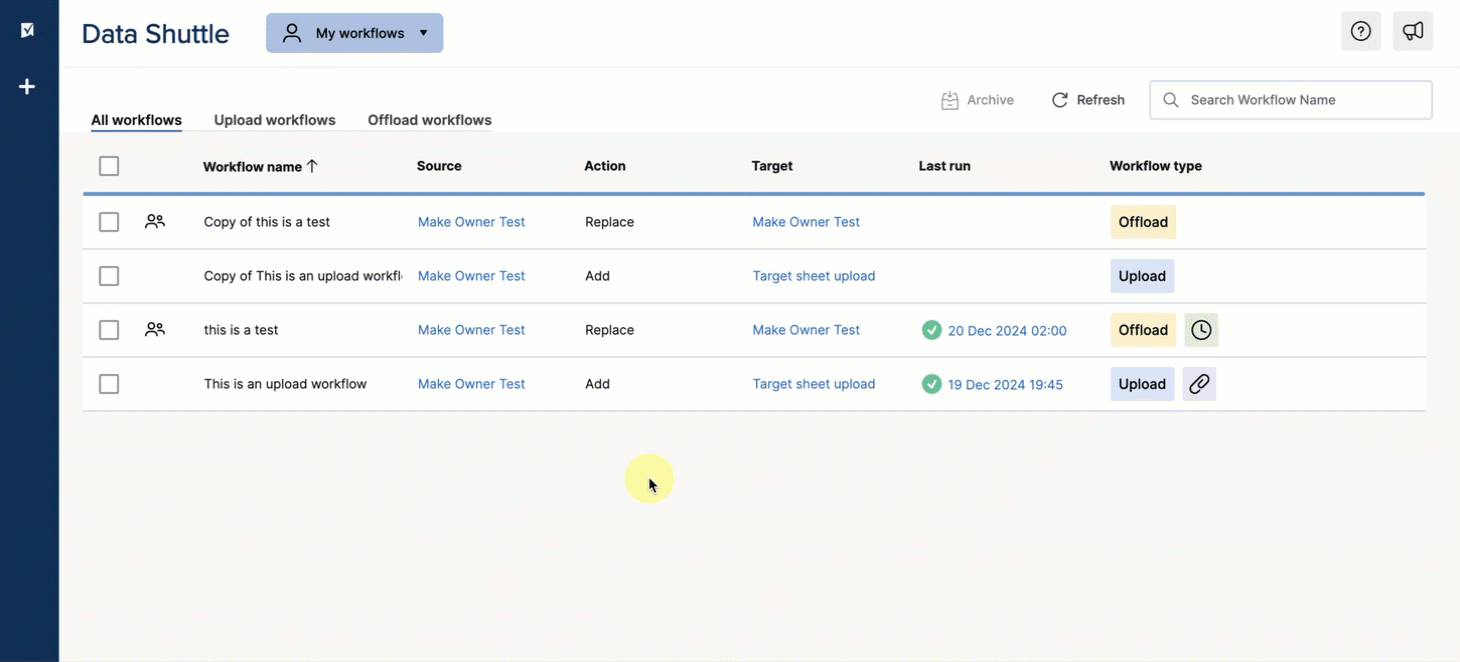
Edit and add new columns to a workflow
You may need to change the structure of your source file as your process evolves. To maintain the new structure in your target sheet:
- Edit your source file with the new column headers or additional columns. If you're using an Excel or CSV file, upload the new source file to your source location, and edit the target sheet with updated column headers or additional columns.
- Go to Source > Source Location and then select a different source location. For example, if your source is Google Drive, switch to Smartsheet.
Switch the source location back to your original selection.
You may need to re-select your Attachment Sheet or File Name.
Select Next until you get to the Mapping page. Map your Input Columns and Expressions again. Learn more about mapping columns in the Create an upload workflow in Data Shuttle article.
You may need to map all your columns again, not just the ones you added and edited.
- You can now activate and run your workflow.
Pause a workflow
Data Shuttle pauses workflows that continuously error and fail. The last run status in your dashboard reflects the paused status. Errors resulting in partial data load won't pause your workflow.
To reactivate a paused workflow, select Review and edit your configuration to ensure it runs successfully next time. Save the workflow so it can run again and resume scheduled activities.

Archive a workflow
Archiving a workflow moves it to your archive and pauses the workflow. You have 90 days to restore the workflow before it's permanently deleted.
If you restore your workflow, the settings don't change, and the workflow runs on your schedule. When a workflow is archived, it doesn't run, but you can access the activity log.
You can permanently delete a workflow from your archive before 90 days have lapsed. If you permanently delete a workflow, the activity log will no longer be available.
- Hover over the workflow and select the kebab
Brandfolder Image
menu.
Select Archive workflow > Archive.
Brandfolder Image
Share or transfer a workflow
To share or transfer a workflow, select
Brandfolder Image
![]() and then select Sharing settings. You can share workflows with other workflow managers, but sharing is only possible within the same plan.
and then select Sharing settings. You can share workflows with other workflow managers, but sharing is only possible within the same plan.
Note that transferring workflows involves adding another workflow manager and removing yourself from the workflow sharing permissions. To remove yourself from a workflow, you must first add another workflow manager.
All workflow managers have the ability to edit, run, archive, and share a workflow as long as they have at least Editor permissions on the source and target files. Admins can also add or remove workflow managers to any workflow within their plan.
How notifications work
All workflow managers will receive notifications for the following:
- Workflow errors
- User additions or removals from a Data Shuttle workflow, including themselves
- Workflow edits and deletions
Notifications will be delivered within the Smartsheet app and via email according to the user's configured Smartsheet notification settings. To adjust notification preferences for Data Shuttle, edit the options in the @Mentions, Sharing Invitations, and Proof Requests section.
Bulk-sharing and sharing with groups are currently not supported.
Execute bulk actions on workflows
System Admins and users can execute bulk workflow actions from their main dashboards: My Workflows, My Organization (admins only), and Archived workflows. Here's what they can do, depending on their access level:
Users can:
Multi-select or select all workflows at once for specific actions.
Archive a select number or all of their workflows and permanently delete them in bulk from their archive.
System Admins can perform the same actions for all workflows in their organization, as well as permanently delete workflows in bulk.
View error notifications for failed workflows
Whenever a workflow you’ve built fails, Data Shuttle will send you a notification with a link to the failed workflow either in-app or via email, depending on your notification settings. By following that link, you can review the run log and address any issues accordingly.
Note that error notifications only trigger on the first instance of a workflow failure, unless the error changes or the workflow has been edited since the last occurrence of the failure.
You can manage notification preferences for Data Shuttle by navigating to Account > Personal Settings... > Notifications. Once there, adjust the options in the @Mentions, Sharing Invitations, and Proof Requests section.
View changes to a workflow
To view changes to a workflow, select the kebab menu
Brandfolder Image
![]() and then select Activity log. The activity log lists workflow actions, including changes to the source, target, or updates to the schedule.
and then select Activity log. The activity log lists workflow actions, including changes to the source, target, or updates to the schedule.
View workflow run log messages
You'll see a status indicator for your workflow on the Data Shuttle dashboard:
A green checkmark tells you your workflow has run successfully.
A yellow caution sign indicates something is wrong with your Data Shuttle workflow, but some data has moved successfully.
A red exclamation mark lets you know something is wrong and that your workflow has failed.
The log message shows the error when a workflow fails and provides troubleshooting guidance. Depending on the error instructions, you may need to edit the workflow settings, fix the file or file format, and/or re-upload a new source file.
To access log messages, select the date under Last Run.
Brandfolder Image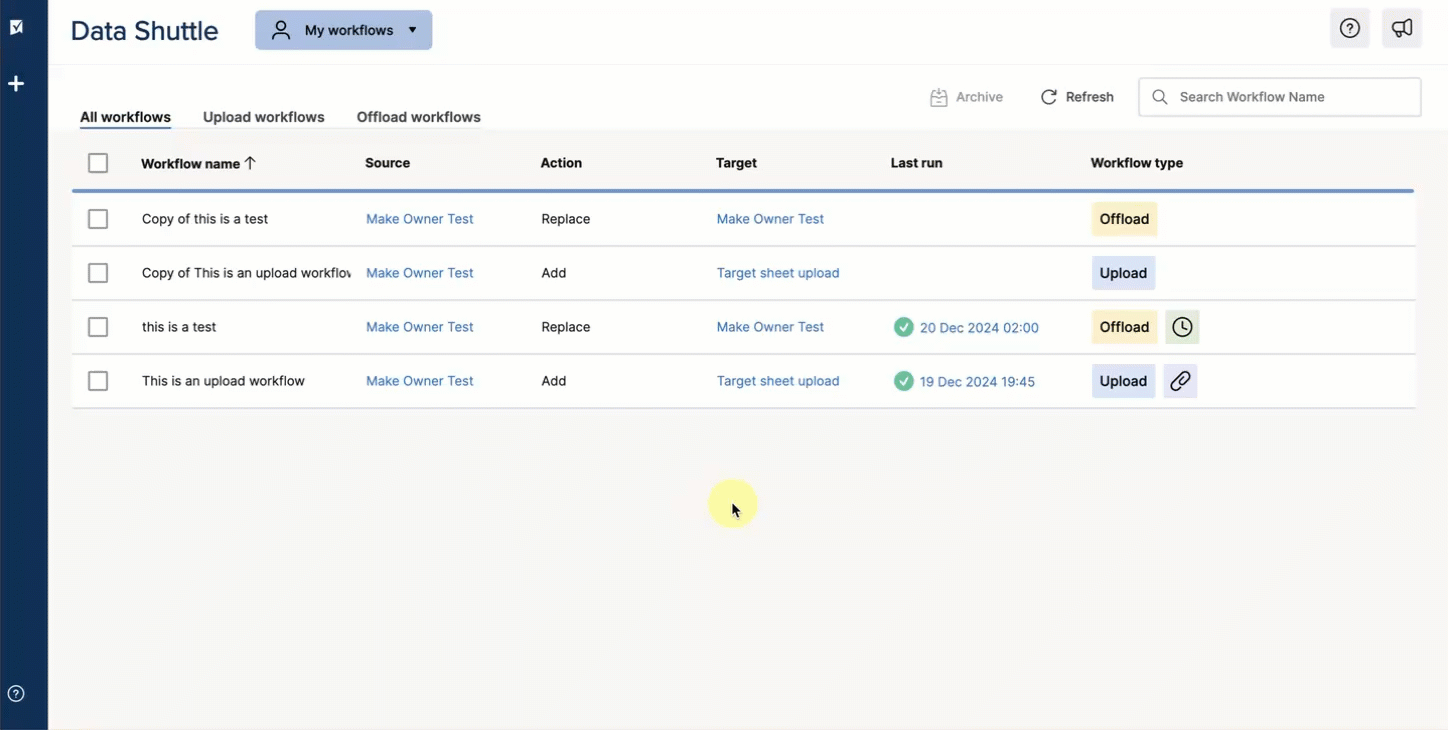
When a workflow runs, the run log provides details as follows:
| Run Log Report Types | Description |
|---|---|
| Run Log Report Types Rows updated | Description Number of rows updated in the target file. |
| Run Log Report Types Rows added | Description Number of rows added to the target file. |
| Run Log Report Types Rows deleted | Description Number of rows deleted from the target file. |
| Run Log Report Types Rows filtered | Description Number of rows containing filtered data on the target file. |
| Run Log Report Types Rows unaffected (sheets) | Description Number of rows where data already exists and is consistent with the source. These rows remained unchanged. |
| Run Log Report Types Rows unaffected (DataTable) | Description Based on the Row options you selected for your target file, the Run Log shows:
|
| Run Log Report Types Column choices updated | Description Number of rows where column choices were updated. |
| Run Log Report Types Rows updated and added (DataTable) | Description Number of rows both added and updated. |

