Once you finished building the elements of your template and locked them, you need to save your project and generate a template.
This is the final step in the Brandfolder custom templates process.
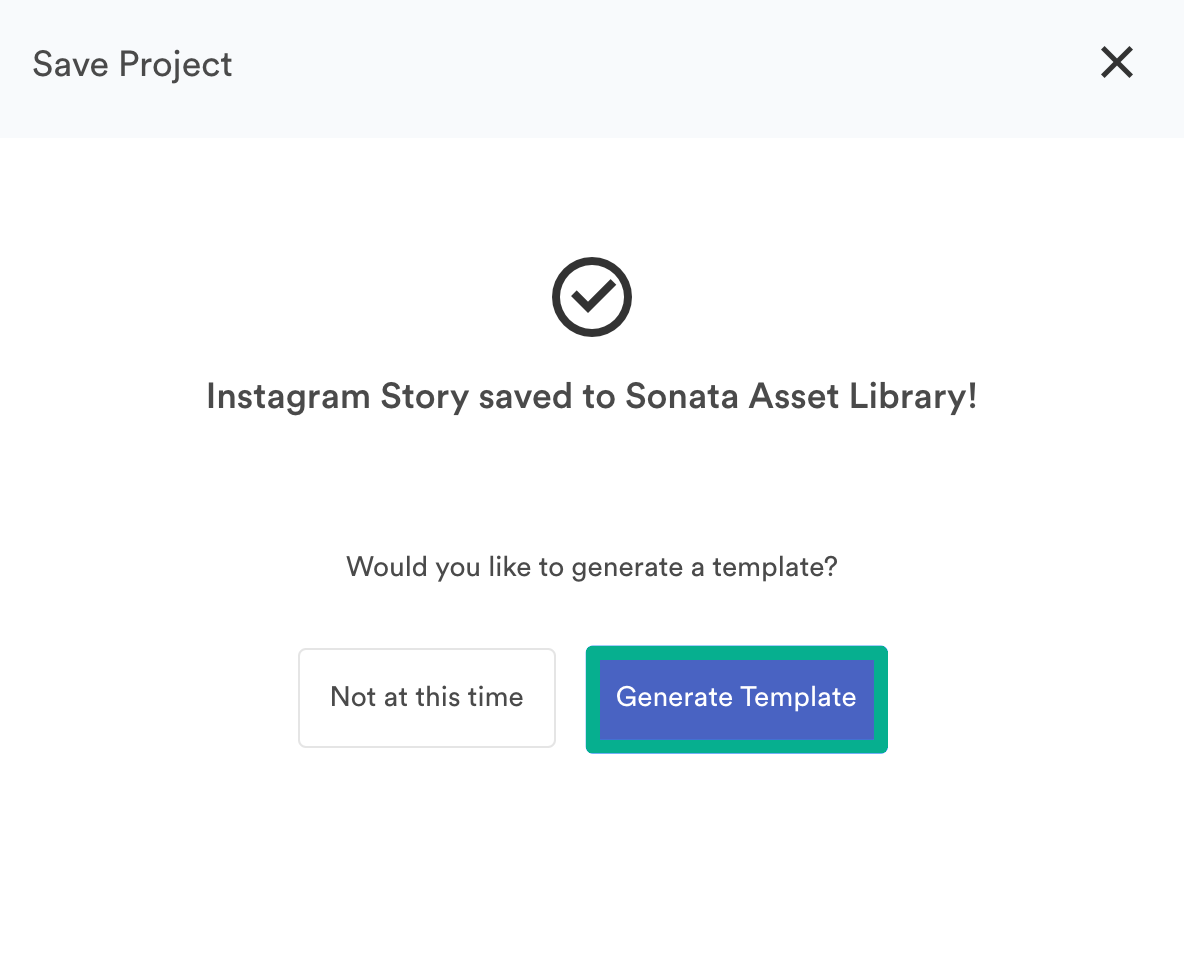
- Select Save Project in the top right-hand corner.
- Select the section to which the project should be saved and select Save.
This saves the project to Brandfolder and then provides the option to generate a template from the project.
- Name your template and select Generate Template.
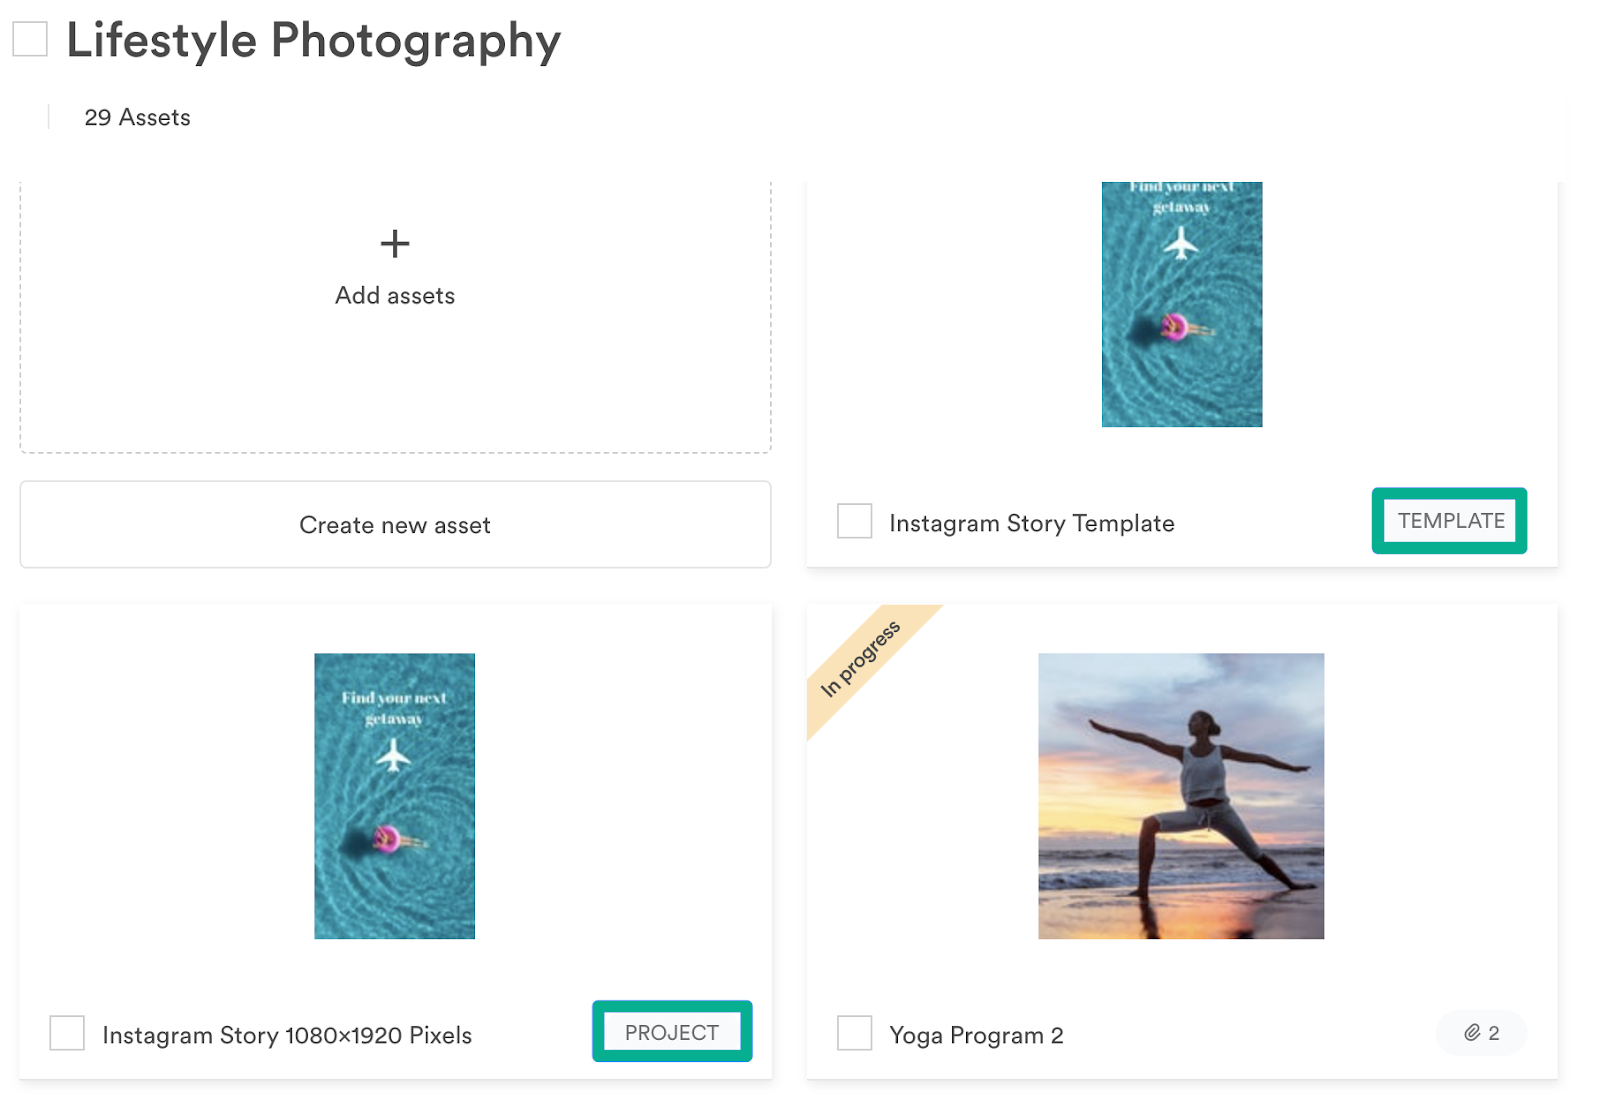
The working file project and template will appear in the designated section as an asset with a project or template pill on the asset card.
Enable custom template approvals
Once you have created a template, you can enable custom approvals. Enabling template approvals at the Brandfolder level ensures that any customizations made to the template by Collaborators and Guests are on-brand and follow styling best practices. When this setting is enabled, all Collaborators and Guests who customize templates must request approval from an Admin before they can export and download the asset.
- Navigate to Settings > General Settings at the Brandfolder level.
- Select the Advanced tab.
- Enable Require administrator approval on custom templates.
Review custom template approvals
Once an approval is requested, Admins will receive a notification in the Notification Center and as an email:
- Open the customized template from the Notification Center or email.
- Choose one of the following options:
- Approve: if everything looks good and the end-user can export and download the asset.
- Unapprove: notify the end-user that this customized asset doesn't meet expectations so they can make modifications and request approval again.
Collaborators and Guests will receive notifications for both approved and unapproved templates.
Next steps
After you publish the project as a template and configure template approvals, your template will be ready for end users to interact with.
Users who open the template asset are taken to an editor to customize it. Customization options depend on the locking configuration defined by the Admin or Collaborator on the original project. Learn more about the end-user experience with finalized templates and the various customizable options.