Brandfolder custom templating uses WYSIWYG template creation so you can easily build templates that other users can customize.
The integration currently supports digital and print assets.
These configurations are available if your organization is utilizing advanced templating. The features outlined below are not available in basic templating.
This article covers the first step of creating templates: configuring projects in preparation for creating templates. The steps it takes to create a Brandfolder template include:
1. Configuring projects
2. Locking projects
3. Saving a project and generating a template
Brandfolder custom template concepts
- Project: working file for any template that is created from it.
- Template: This is end-user-facing and created from the project. End users can customize elements within the template, including text, images, backgrounds, and shapes. These are all defined and locked or unlocked for editing by the admin or collaborator.
- Canvas size: the size of the Project and the resulting template. Canvas sizes are often known based on the channel in which the asset will be used. For example, the default Instagram post size is 1080px by 1080px.
1. Create a new asset
- Within the section that you want the Template to live in, select Create New Asset.
Templates can only be created in a file type section.
2. Select the type of project you want the template to be.
- Digital design: used for social media ads and websites using pixel-based dimensions.
- Print design: for projects that are high quality with bleed and CMYK using inches-based dimensions.
2. Create a new project
Once you select the project type, a new modal will appear.
- Name your project.
- Choose one of the following:
- A specific canvas size. This reveals multiple pre-defined options, such as commonly used social posts (Instagram, Facebook, Pinterest, etc.)
- Upload an image. This defaults the Project to the canvas size of the image uploaded.
- Create from an existing template. This defaults the Project to the canvas size of the selected template.
3. Select Create Project in the bottom right-hand corner of the modal.
3. Build out a new project
Add and adjust text, images, background, and shapes using the options on the left-hand side of the project navigation area. New pages can also be added and cloned.
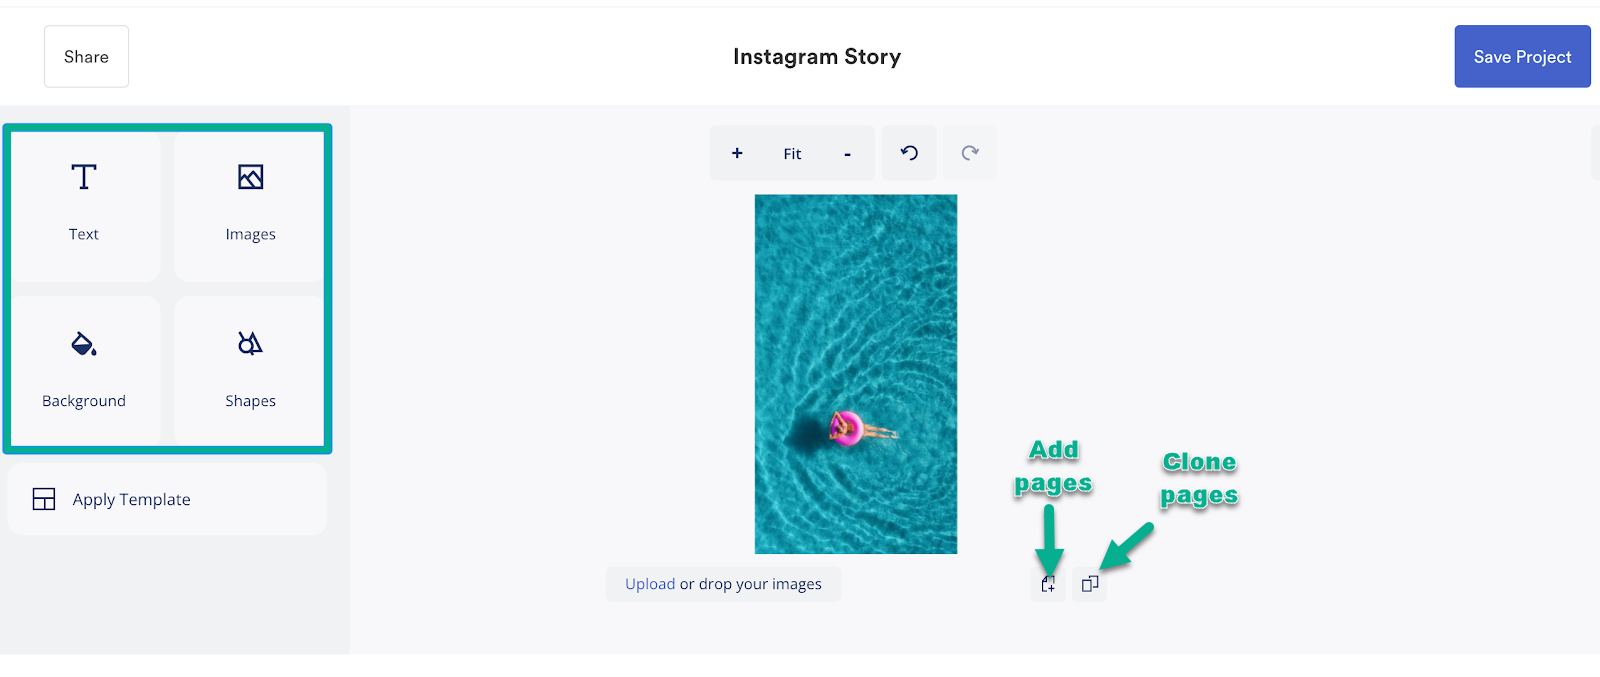
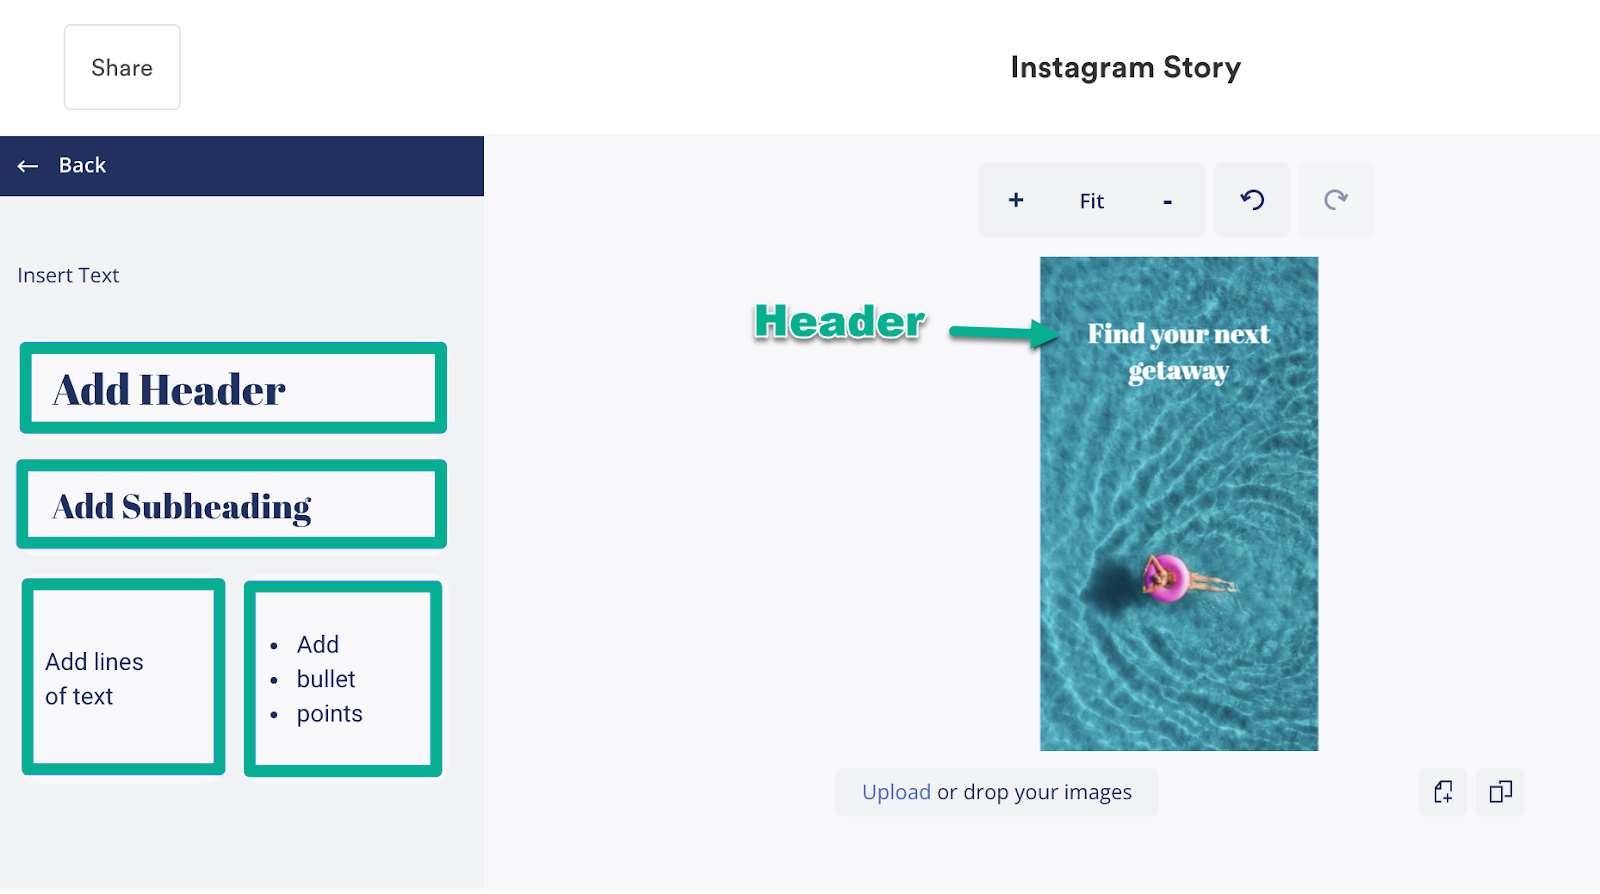
Text
Add text (headers, subheadings, lines of text, bullet points) and select from various fonts, colors, sizes, and alignments. The font file types that can be uploaded to Brandfolder Custom Templates are OTF, TTF, and WOFF.
- Text can be hyperlinked for a PDF file exported from your account. This is a valuable option to navigate the reader to a webpage. To hyperlink text in your Project, follow these steps:
- Select the text box you want to hyperlink
- In the left menu, locate the Hyperlink option
- Add the web address to the page you want to hyperlink to
You cannot hyperlink a text box partially. The full-text box must be hyperlinked.
Images
Upload from your computer, Brandfolder, Unsplash, Pexels, and Iconfinder. Certain file types can be uploaded to Brandfolder Custom Templates: JPG, PNG, SVG, TIFF, and HEIC. The default size limit is 25 MB.
You must input your API key the first time you upload from Brandfolder.
- Background: add background images or colors and adjust the size.
- Shapes: add shapes to the template using Iconfinder or basic preloaded shapes. Images can also be inserted into the shapes.
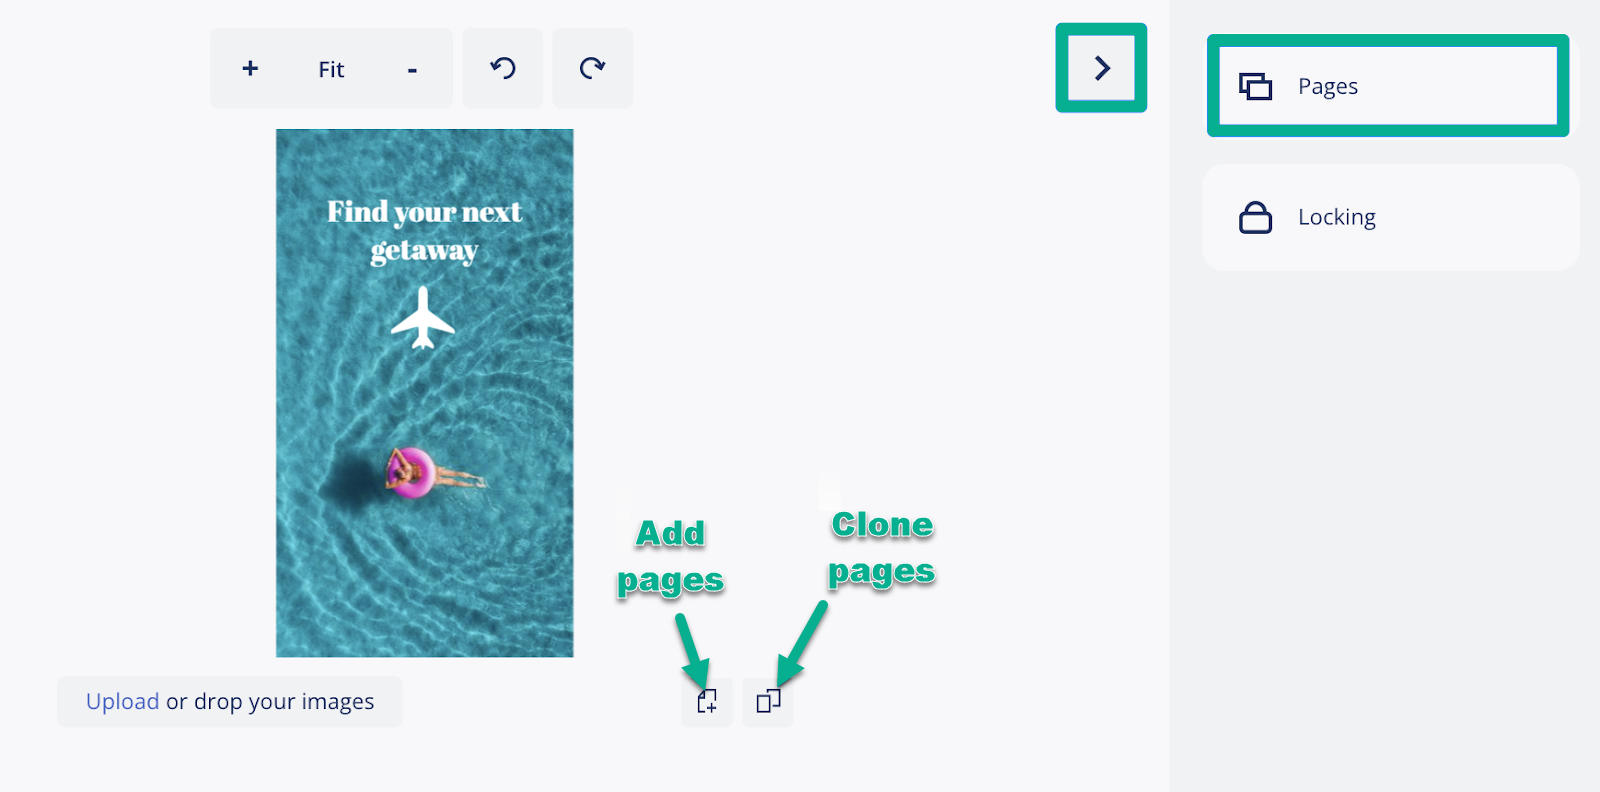
- Adding and cloning pages: Select Add New Page below your project preview to make the project multi-page. Clone a page (make a copy) by selecting Clone Page. You can also expand the menu on the right-hand side and select Pages > Add.
Zones
Zones are square or rectangular areas in which you can designate on the template for your user to place a design element (image, video, or SVG). Zones allow you to control whether the design element is masked or fits fully within the area. This feature is great for logos, headshots, headers, and more.
There are two ways to create zones in the editor.
- Select Images on the left menu, and then select Zone. A placeholder icon will appear.
- Add an image, video, or square/rectangle shape to the editor and select the Convert to Zone option in the left menu.
Configure a zone
Once the zone is added, you need to set up a few properties.
- Choose the element position to be either Fit or Mask.
- Fit: The image or SVG will be placed in the zone but can be resized or repositioned anywhere within the designated space. Elements are not cropped.
- Mask: The image will take up the entire space, leaving no margin. Elements that don’t fit the zone exactly are cropped.
- Select the Default Orientation (sets where an element placed will be within the Zone). *If you chose Mask on Step 1, skip steps 3 & 4.
- Select the Default Margin. This sets the amount of space between the zone's edges and the element's borders.
- Select the Rotation. This sets the angle at which the element will be placed.
- Select the ability to constrain resize proportions.
- Select arrangement and alignment.
There is a configuration mode that allows you to preview the default placement and position, for example, elements of different aspect ratios given the options listed above. Turn on configuration mode to generate a preview within the zone for you to visualize.
Next steps
After you have created a new asset and have configured your project you will setup locking configurations.