Applies to
Set up and administrate your Bridge account
Manage your Bridge account and your workspaces.
Set up your account
If your organization doesn’t have access to Bridge, contact your Smartsheet sales team.
They need the name and email of the user who will be the first user setup. Once they’ve created the account, that first user receives an email with your organization’s unique URL.
If your company already has access to Bridge, anyone with login access can add more users. If you’re unsure of who in your organization has access, contact your Smartsheet sales team, and they can tell you who the account was originally created for.
Once that person has added you to Bridge, you’ll receive an email with the login URL.
Add users to Bridge
Once you have access to Bridge, you can add more users by following these steps:
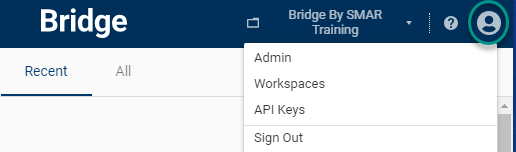
- Log in to your account
- Go to Account Settings > Admin
- From the System Admins page, select New System Admin and enter the details for a new user.
After completing the form, the new user receives an email with instructions for setting their password.
Remove users from Bridge
To remove a user, follow these steps:
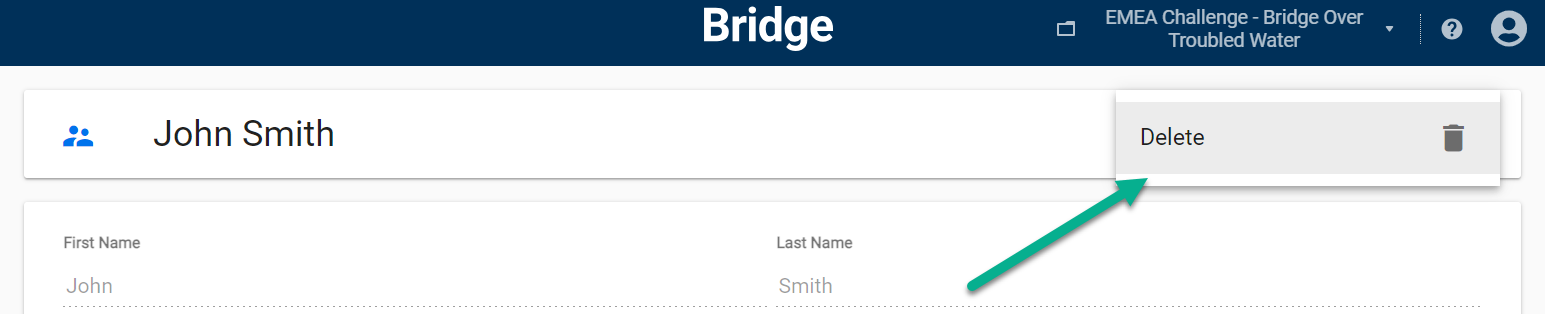
- Select their name from the list.
- Select the More options
icon.
- Select Delete, and then select Delete again in the confirmation message.
Manage workspaces
- Select Choose or manage workspace
in the top bar.
- Select Manage Workspaces.
To create a new workspace:
- Select New Workspace in the lower right corner.
- Name your new workspace and select Create.
A popup appears confirming you successfully created the workspace. The system redirects you to the new workspace in 5 seconds. To stay in the current workspace, select Cancel.
To delete workspaces:
- Select the workspaces that you want to delete by checking the box next to their names.
- Select More options
- Select Delete, and then select Delete again in the confirmation message.
You can't delete the workspace you're currently in.
Alternatively, you can copy the content of one workspace into a new or existing workspace by selecting only one workspace and selecting Copy Content instead of Delete.
Manage API Keys
You may have purchased services from Smartsheet where our consulting teams help you build workflows or even new integrations.
To install these integrations or workflows, you may need to generate an API key and share it with the architect working with you so they can install the integration they implemented or import the workflows they build.
Also, if you have a support ticket open, we may sometimes need to look into error logs accessible via an API and may then ask you for an API key.
If someone from Smartsheet asks you for an API key, generate it by following these steps:
- Go to Account Settings > API Keys.
- Select Generate API Key.
- Give it a name that helps you remember why you generated it.
- Select Generate.
Remember that API keys are like passwords, so once it’s no longer needed, you should delete it.
You can delete an API key following the same steps as for deleting a workspace.