Applies to
Capabilities
Who can use this capability
Resourcing Administrators determine how time is tracked for each project.
Time tracking settings in Resource Management
In Resource Management, you can track time in three different ways. Each option offers different levels of flexibility and detail.
- Hours and minutes: Precise time tracking with efficiency
- 1/2 days: Fast, high-level time entry
- Itemized hours and minutes: Additional details and reporting options
Choose what makes the most sense for your organization, depending on your company’s culture and reporting needs.
To change your Time Tracking setting, go to Settings > Account Settings and review the Time Tracking section.
Hours and minutes: Precise, efficient tracking
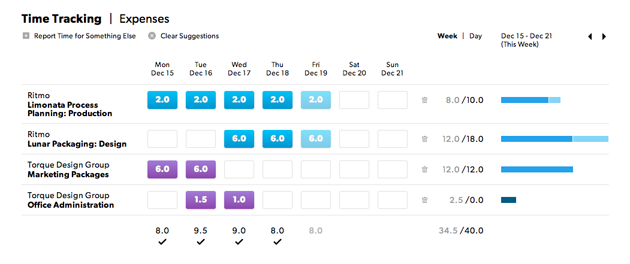
Hours and Minutes time tracking allows people to enter the exact time spent on each project or phase. Your people can confirm the suggested hours for the days they work according to the plan, or enter their own hours. Day View includes a timer in for more precise time entries.
This setting gives your team the ability to track and report on actual time spent per project.
½ days: Fast, high-level time entry
½ days works best for teams with little variation in their daily activities, when people are working on one or two projects at a time. Enter time n 4-hour increments. The Confirm Suggestions button makes entering time an easy, one-click process.
![]()
½ days won’t provide the accuracy you get with the other time tracking settings, but if you’re looking to keep time entry as efficient as possible, ½ days works well.
Itemized hours and minutes: Additional details and reporting options
Itemized time entry provides the most detailed time entry. People can categorize their time and add notes. Project managers can budget by category within a project, providing an additional layer of reporting in analytics.
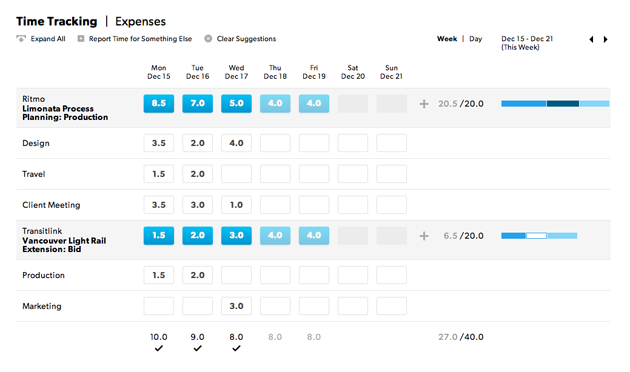
Use Itemized Time Tracking to break down time into specific activities (meetings, travel, etc.).
Customize activities in Settings > Time + Fee Categories. Day View includes a timer in for more precise time entries.
When you set up itemized time tracking, you can select Require a category entry when entering time. Use this setting for billing clients or other projects that require detailed time entry information.
Requiring a category with each time entry deactivates the option to bulk confirm suggested hours for a given day.
Other time tracking settings
You can also set:
- Minimum and maximum allowable hours to track per day
- Work hours in a day
- Workdays per week
- The day your work week starts
When people enter fewer hours than the minimum for a day, a warning reminds them the entry is incomplete. When people enter more hours than the maximum for a day, a notification lets them know they’ve exceeded the maximum.
Hours entered are considered confirmed even if they don’t follow the guidelines established in your Account Settings.
Approval workflow
Enable the approvals workflow (including bulk approvals) in Account Settings.
Tracking project progress
You can see a project’s progress in time (days or hours) or currency amounts (fees and expenses). This information appears on the project page, under Status.
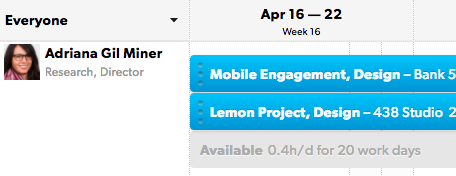
Availability and allocation
In Account Settings, select percentage (%) or hours per day. This setting determines how availability appears on the schedule. It's the default method for how people get allocated when assigned to projects.
Availability and allocation appear on the schedule below projects as hours per day.
You cannot restrict time tracking for specific projects or users at this time. However, approvals could be used to ensure time tracking is accurate.