Applies to
- Pro
- Business
- Enterprise
Capabilities
Who can use this capability
Owners and sheet Admins on both the source and destination sheets can create an automated move rows action.
Learn about workflow permissions.
Work with the move rows action
Automatically move a row to another sheet when conditions are met.
To create a move row workflow:
- Go to Automation > Create workflow from template...
- In the Sheet change section, select Move a row to another sheet when specified criteria are met > Use Template.
- Enter a name for your workflow.
- Configure what triggers the workflow.
- Select the sheet where you want to move the row to.
As you work with the move rows action, there are certain behaviors and best practices you want to be aware of.
Make your workflows smarter
Use specific triggers and define conditional paths to increase the efficiency of each workflow.
Be precise about your trigger criteria
You might want rows to move to another sheet when a specific change is made, when a date is reached, or on a recurring basis. See Trigger blocks: Define when your workflow is executed to learn how to control this criteria.
Control what action is taken with conditional paths
When your workflow is triggered, you may want the row to move to different sheets based on various conditions that you set. For example, a task is marked ready for action, the workflow automatically moves tasks to different project sheets based on what department the task is assigned to.
You can add Conditions and Condition Paths to control where a row moves based on the met conditions.
To know when working with move rows action
Moved rows added columns to the destination sheet
Any column in the source sheet that isn't present in the destination sheet is added automatically. To avoid this, make sure that the column names and properties are consistent between the source and destination sheets.
New columns appear on the rightmost side of the destination sheet.
System columns must be of the same type
If a system column in one sheet has the same name as a non-system column in the other sheet, the workflow is disabled and you’ll receive the following message:
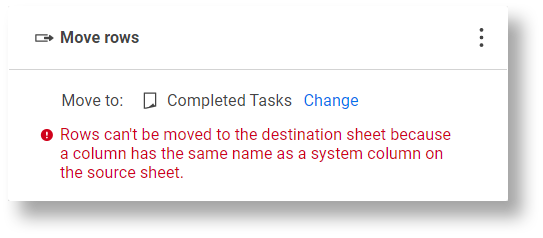
If your workflow becomes disabled with the above message, you have to rename the affected system column.
If there are system columns in both the source and destination sheet, the names don't have to match. The values are moved to the destination sheet based on column type rather than column name.
Sheets have size limitations
If a move rows action cause the destination sheet to exceed its maximum size, no rows are moved to that sheet. For information on Smartsheet size limitations, see System Requirements and Guidelines for Using Smartsheet.
Once the sheet reaches the row limit, the workflow is disabled and you receive the following message:
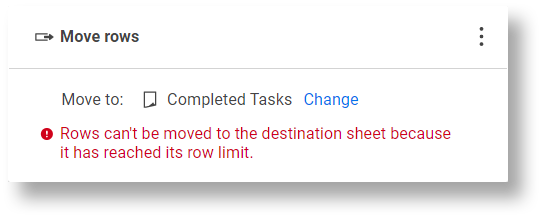
You may need to change the destination sheet, delete rows, or manually move rows from the destination sheet to a different sheet before you can reactivate the workflow.
Rows are moved on behalf of the sheet owner
In the Activity Log, rows moved automatically show that Smartsheet Automation on behalf of [insert sheet owner name] moved the row.
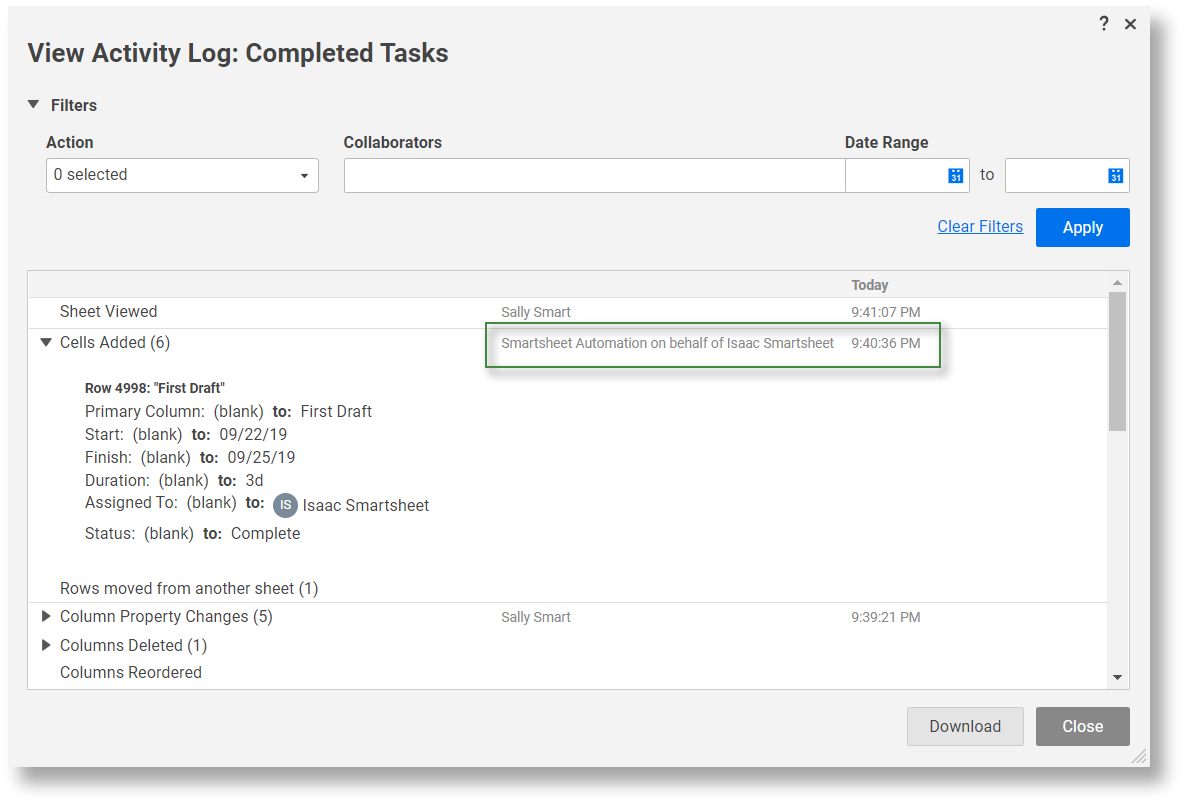
You can see the cell data that was moved, but you can't see which sheet the row was moved to or from. Review the setup of the move rows action in your workflow to determine what sheet the row was moved to.
See View Changes Made to Smartsheet Items for more information about Cell History and Activity Log.
To avoid creating endless loops, Smartsheet doesn't initiate the Move Row action when the trigger cell includes cross-sheet formulas or are linked to other cells. To work around this, use time-based automations or recurrence workflows.