Applies to
- Pro
- Business
- Enterprise
Templates: Create your own or use one from the Solution Center
Create your own templates or use one from the available options to help you maintain consistency across standard elements such as column names, column types, and conditional formatting rules. Standardization also helps you when creating rollup reports or dashboards from multiple sheets.
If you need help getting started, consider working with our Solution Services team. They can assess your situation and design a solution specifically for your needs.
Use a pre-built template
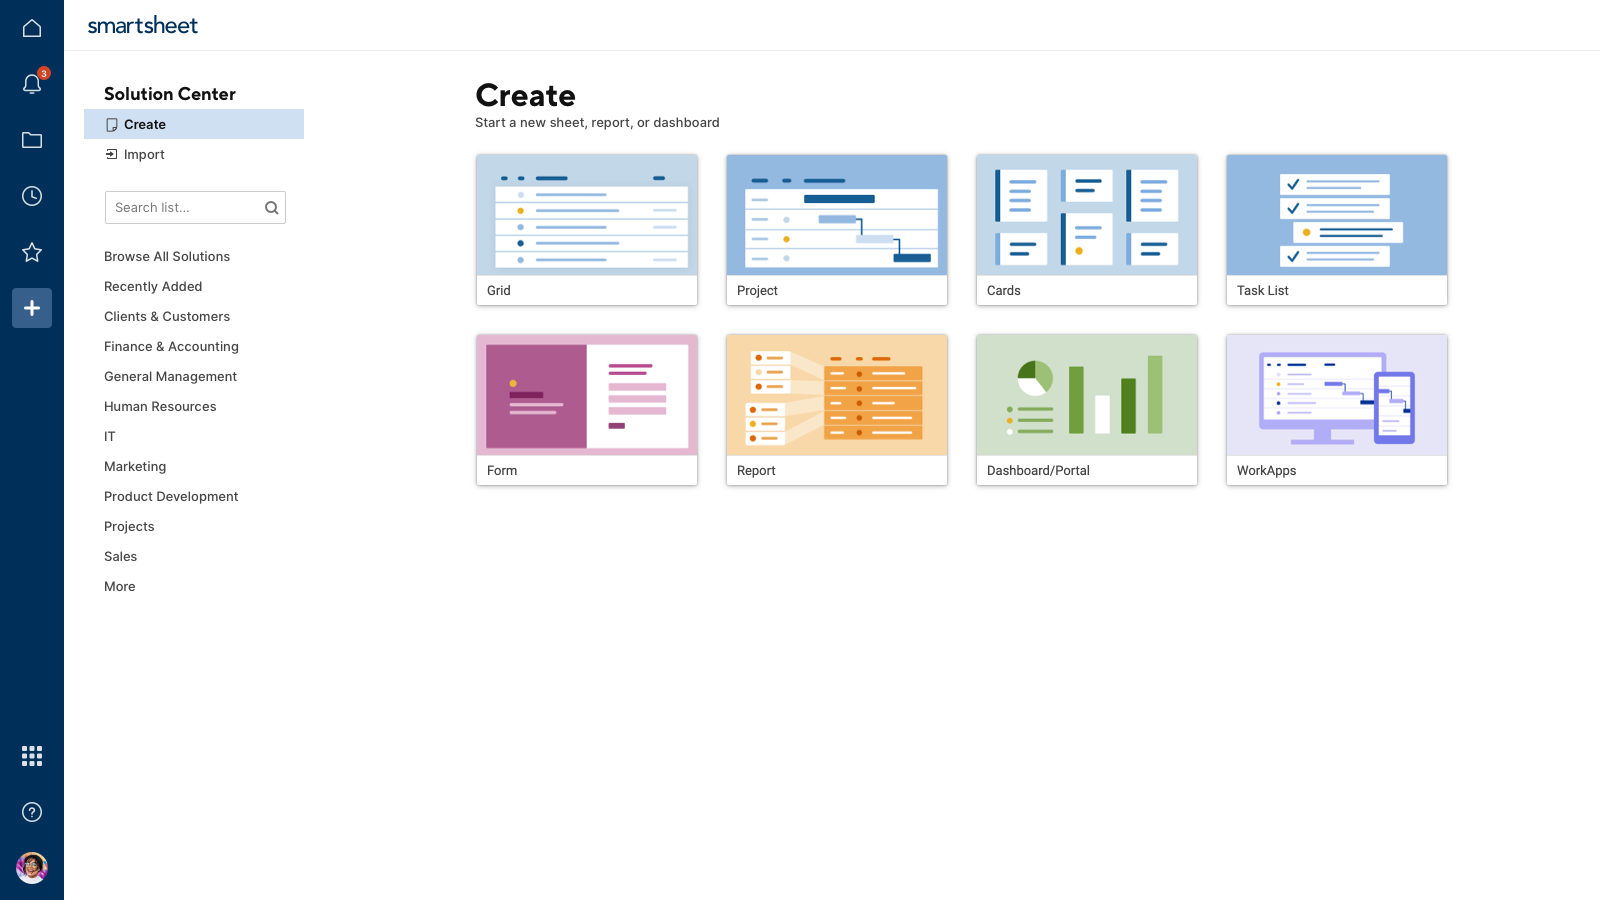
Find hundreds of pre-built templates in the Solution Center right in the Smartsheet application.
You can customize these pre-built templates in the same way you can edit sheets—for example, you can edit cell data, change column types, or include your own attachments as needed.
The sheet name is the same as the name of the template, but you can rename it if needed.
Some templates may include example data to help you understand certain features, such as comments, cell examples, formulas, and more. You can eliminate examples from the template by using Save as New... and selecting Data and Formatting preferences.
Visit the Solution Center in Smartsheet Now
Find the Solution Center in Smartsheet
Select the Solution Center icon (plus sign) on the left navigation bar.
Create your own template
You can create a template from any existing sheet. Columns and conditional formatting rules are always saved to the template. You can also choose to include notification settings, and specific data and formatting options such as row data, manual formatting, attachments, discussions, and forms.
- Open the sheet you'd like to save as a template.
- Select File > Save as Template to open the Save as Template window.
- Enter a name and description for your template.
- Choose Automated Workflow & Alert Options and Data & Formatting Options to specify which of the options you would like to save with your template.
To retain column names and types only, uncheck Sheet data and formatting. - Select Save.
The template gets stored in the same folder or workspace as the originating sheet. You can drag it to other folders or workspaces from Browse if needed.
Your created templates are private. To modify a template, update the source sheet and save it as a new template. Keep in mind that any automated workflows exclude specific email addresses; re-enter them in new sheets derived from the template.
Use a template that you created
To create a new sheet from your own template:
- Locate the template. Select Browse on the navigation bar and choose the folder or workspace name in the left panel.
- Select the template. A preview of the template appears.
- Choose the Use Template button in the lower-right corner of the window to display the Use Template window.
- Name your sheet and decide whether to include all the features you originally saved (for example: data and formatting, attachments, discussions, and forms). You can also choose to save the sheet in a different folder or workspace.
- Select Save.
Share a template
You can’t share templates individually, but there are two ways for you to share them:
- Move them into a shared workspace. Anyone shared to the workspace with Admin access can create new sheets if they’re a licensed user in Smartsheet.
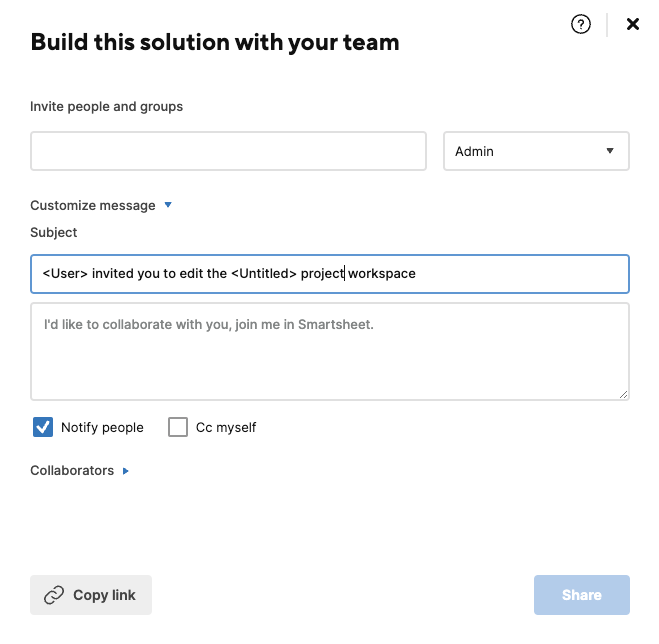
- When you create a new template from the template gallery, you can invite people to collaborate on the solution. Enter their email addresses, select their permission level, customize the invitation message, and then select the Share button.
If you’re in a Free or Trial plan, the sharing prompt automatically comes up after you download the template. Make sure to invite collaborators to help build the solution.
When you create a template from the template gallery, it creates a new designated workspace for that template. Change the workspace name by hovering over the workspace name, selecting the three dots, and then selecting Rename. Enter the new name, and then select Rename.