Applies to
- Brandfolder
Capabilities
Who can use this capability
Owners and Administrators can customize the look and feel of their Brandfolders.
Customize your Brandfolder look & feel
Add a custom color
1. From your Brandfolder, select the Settings button and then General Settings.
2. Within the Customize tab, enter a hex code into the Brand Color (Hex Code) field.
3. Select Update Brandfolder to save your changes.
Add a logo, favicon, and header image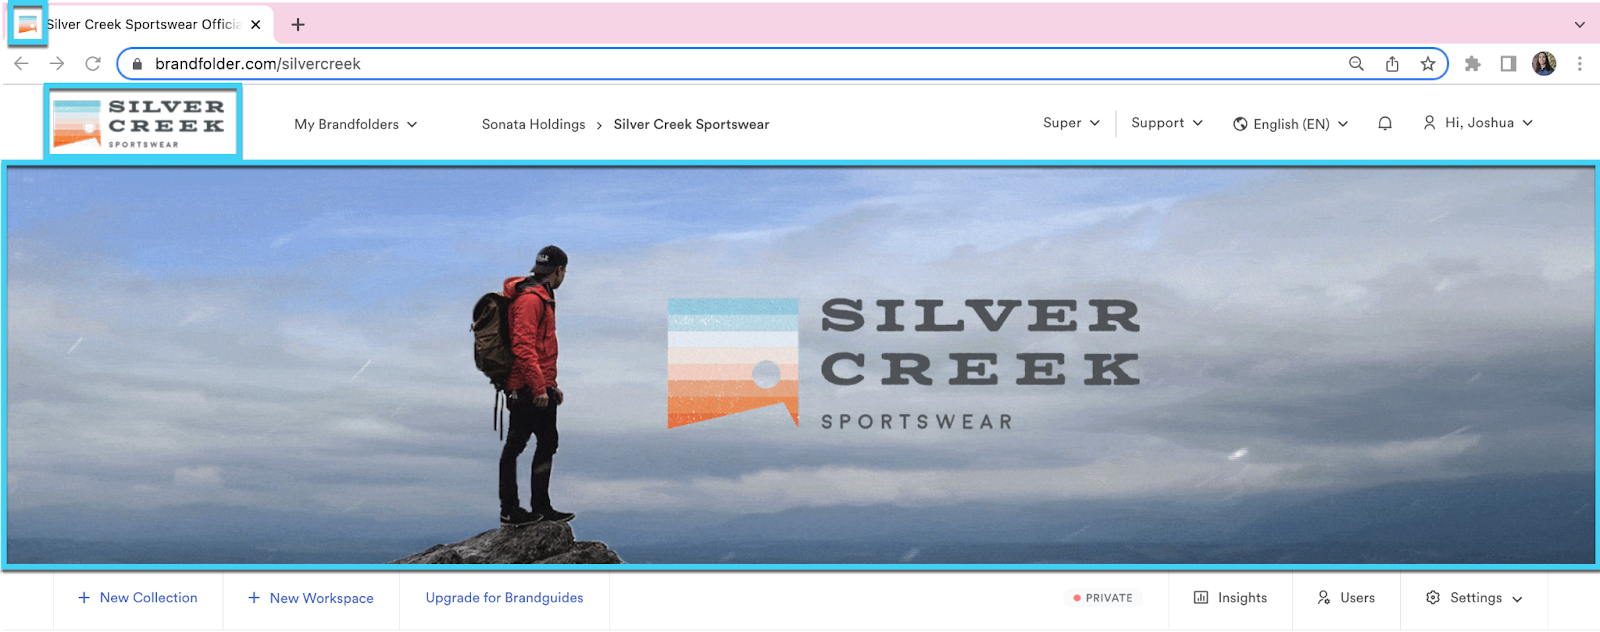
1. From your Brandfolder, select the Settings button and then General Settings.
2. Within the Customize tab, select Upload on the right side of the Logo, Favicon, and Header Section.
3. Choose your image and select Upload.
You can upload a gif as the header image.
4. Select Update Brandfolder at the bottom of the page to save your changes.
Scrolling over the ? icon will give you the recommended dimensions for each image. These recommended dimensions are 1,920px X 480px for headers and 260px X 130px for card images.
Customize the sign-in page
By default, the header image above the sign-in box will be inherited from the level associated with the sign-in page. This can be set up at the Organization, Brandfolder, or Collection level with a customized sign-in page for each.
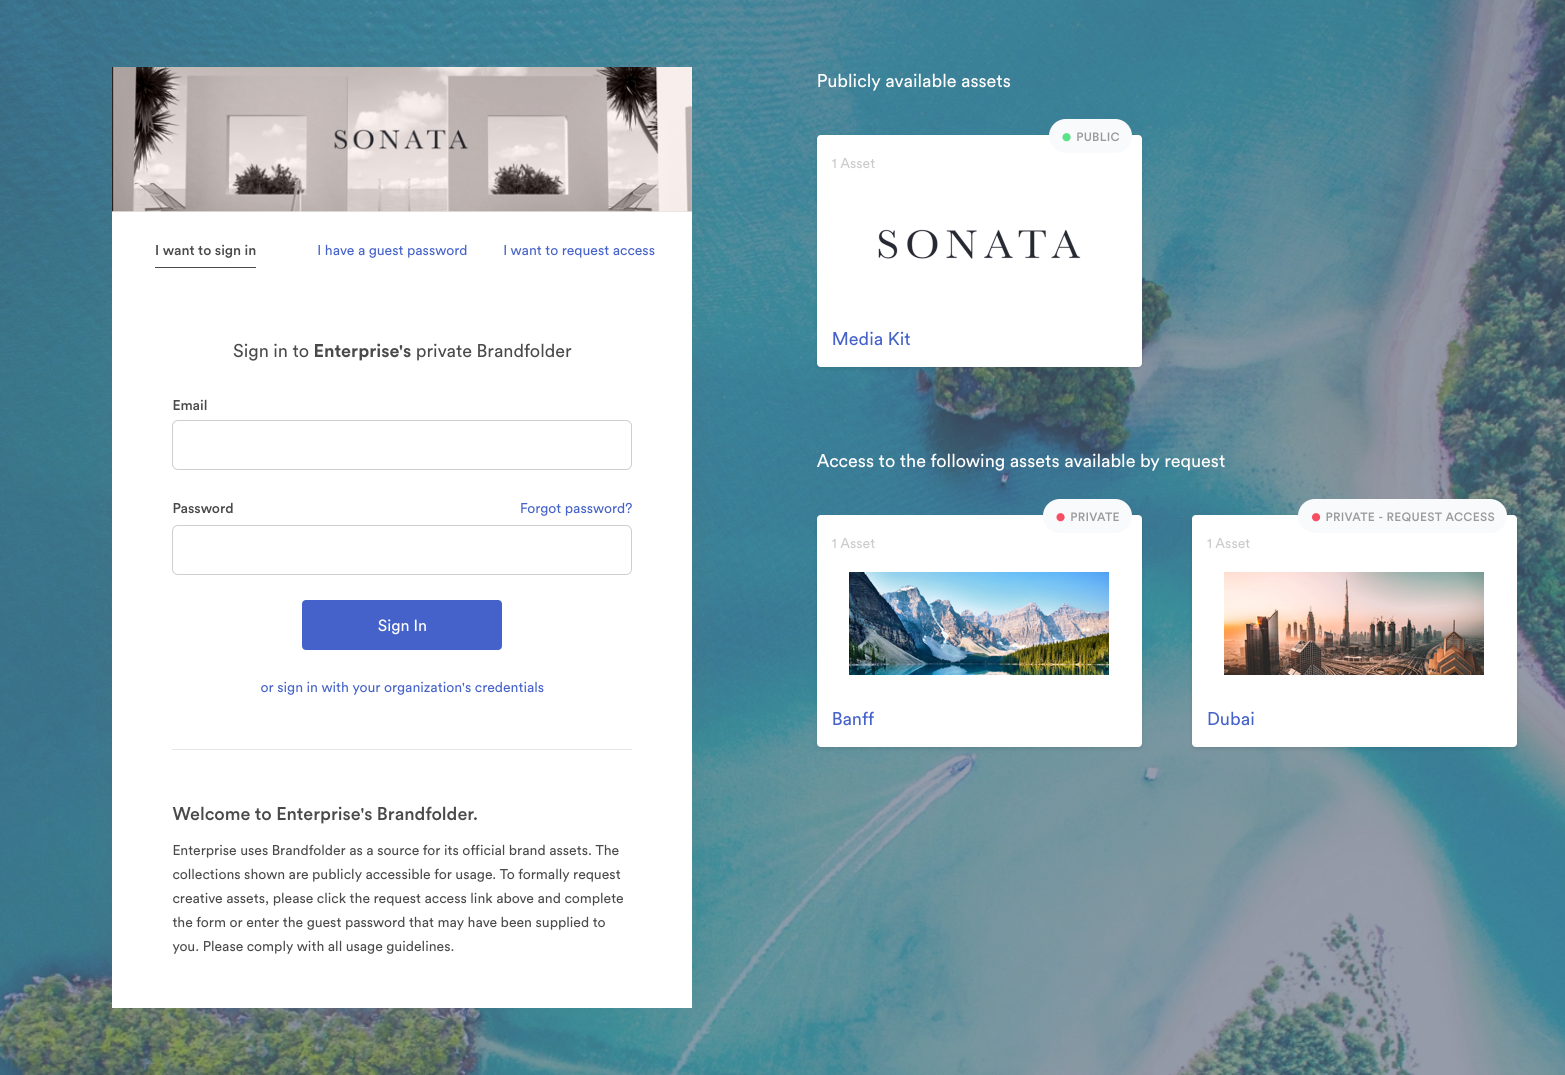
Update the background image
1. Go to Settings > General Settings within your selected level.
2. Navigate to the Customize tab.
3. Upload your image to the Sign In background image upload area and select Update Settings to save.
The recommended dimension for this image is 1920px x 1080px. If no image is uploaded, the background will default to a solid version of the selected Brand Color (hex code). If no hex code exists, the default color background will be white.
Update the welcome message
1. At the organization level, select Settings > Organization Settings.
2. Go to the basic settings tab.
3. Input the desired text for a welcome message.
4. Select Update organization settings.
The text will appear at the bottom of the welcome page. The text that is set here will appear at Brandfolder and Collection levels. It will not appear at the organization level.
Add a card image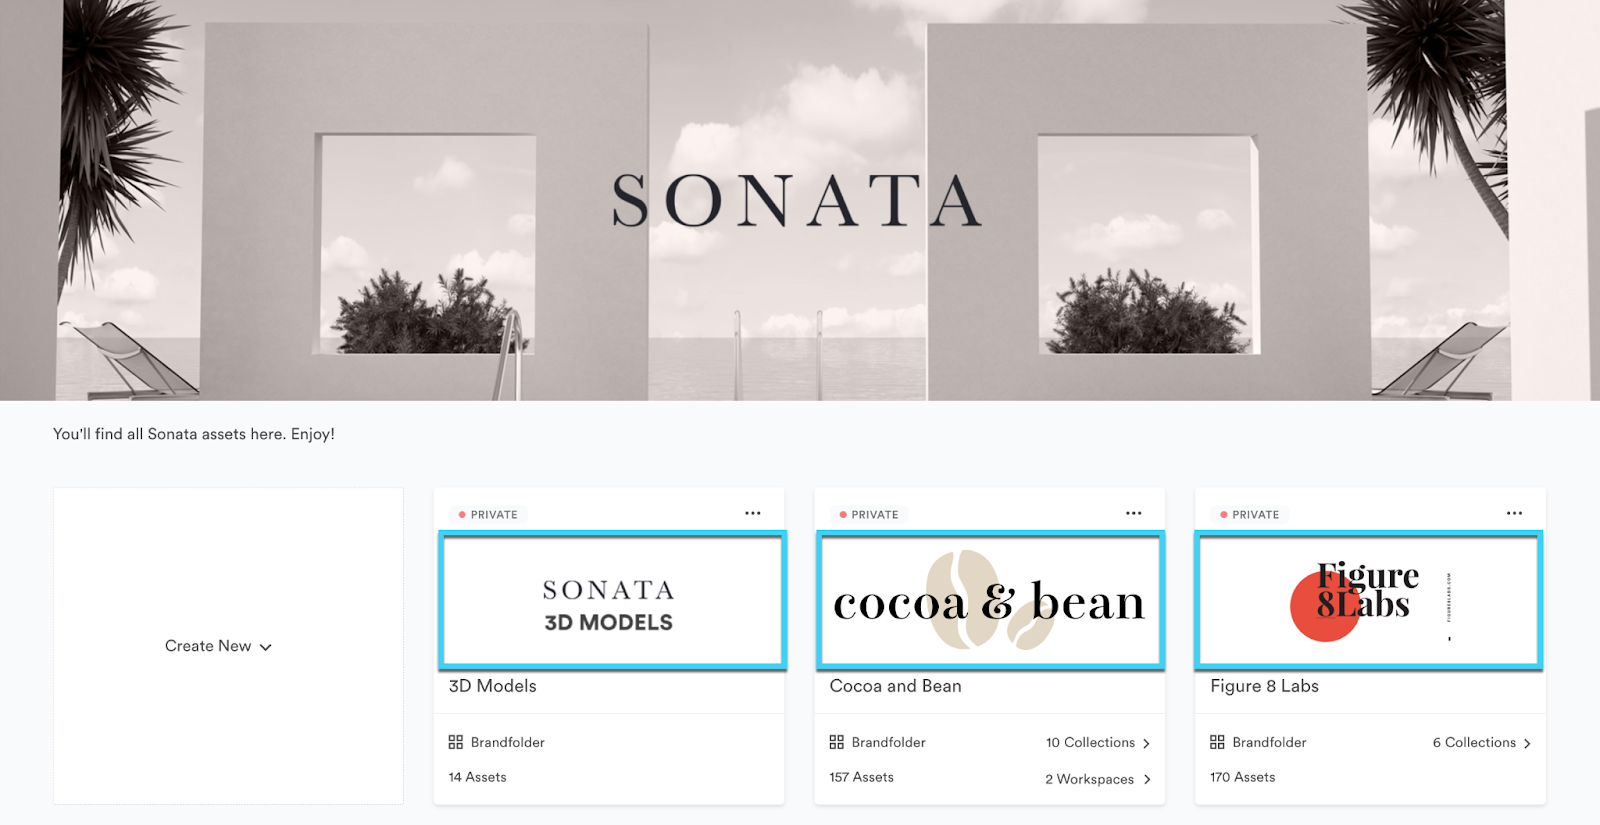
The card image appears on the Organization page as a link to a Brandfolder. The Card image is also the image that appears when you share a Brandfolder link.
1. From your Brandfolder, select the Settings button and then General Settings.
2. Within the Customize tab, select Upload on the right side of the Card Image Section.
3. Select Update Brandfolder to save your changes.
Customize my invitation email logo
When inviting users to your Brandfolder, you can customize the image at the top of the invitation emails to new users.
1. From your Brandfolder, select the Settings button and then General Settings.
2. select Upload on the right of the Invitation Email Logo Section within the Customize tab.
3. Select Update Brandfolder to save your changes.