Applies to
Bridge: Schedule workflow runs
Schedule workflows to run at fixed times, or to be dynamically triggered by another workflow.
You can use fixed schedules to automate daily reminders or a weekly creation of tasks. You can also use dynamic schedules when the start time depends on another event, such as a change in project status, or when information is added.
Create a fixed schedule within the trigger
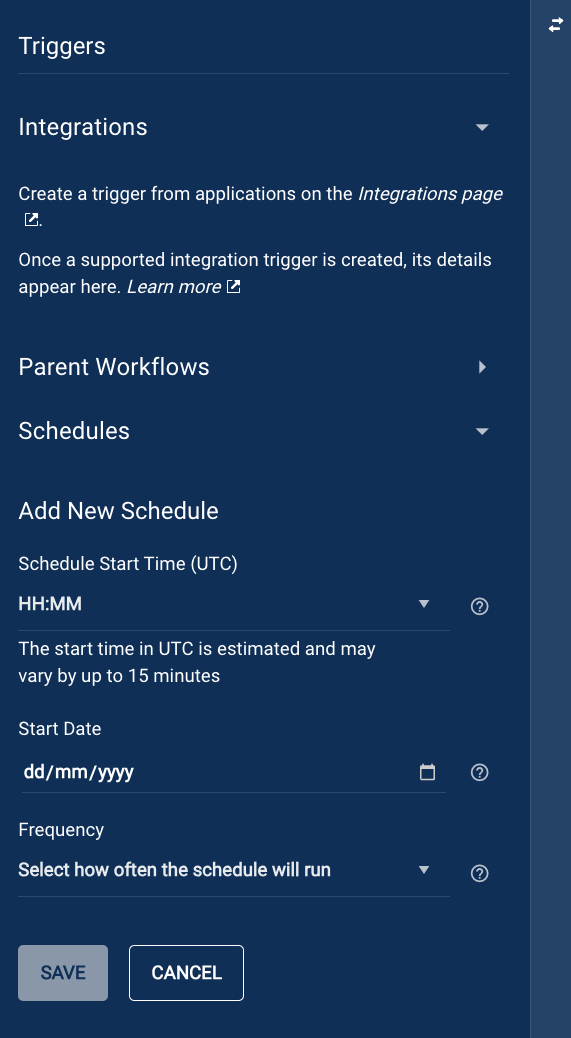
- Navigate to the workflow and select the trigger module at the top of the workflow.
- Expand the Schedules section and select Add new schedule.
- Choose a start time (UTC), and a future start date.
- Choose a frequency to set how often the schedule triggers the workflow. This can be Once, Hourly, Daily, Weekly, Monthly, Annually, or a custom cadence.
Create a dynamic schedule with a utility module
- Add the Create Workflow Schedule utility module to your workflow.
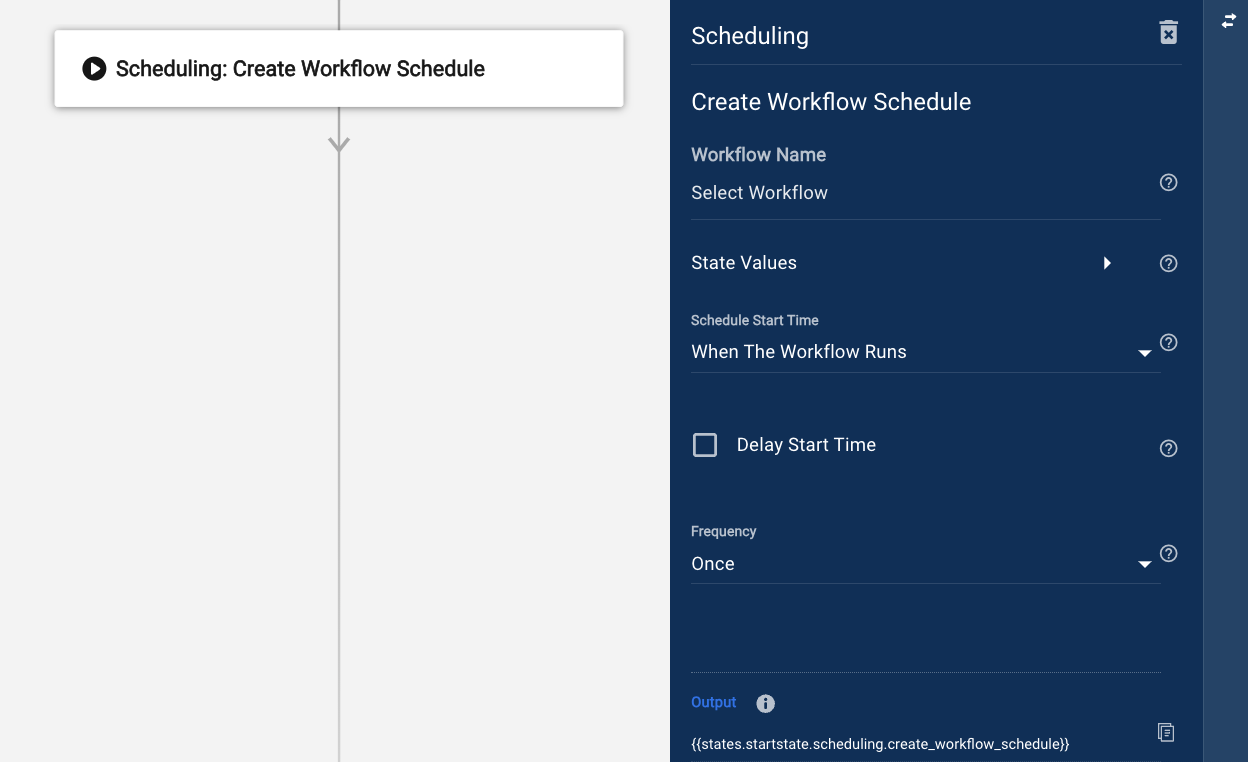
- Select the name of the workflow you want to create a schedule for.
You can select the same workflow the module is in, but only when the workflow ends with a junction that decides whether to create a schedule or not, and if the frequency is Once (e.g. deciding if the workflow should run once more in a week’s time). If there isn’t a junction, once the workflow triggers the first time, it creates a loop generating an infinite number of schedules. If this happens, delete the module from the workflow and save. This should stop the loop, unless a frequency other than Once was used.
- If there is information the other workflow needs to reference, such as a sheet ID or row ID, you can achieve this by adding a state for each value in the workflow to be scheduled. In the module, expand the State Values section and enter the name of each state in the Key field, and the reference or exact value in the Value field. When the other workflow is triggered by the schedule modules in it can reference those states to obtain the values.
- Choose how to set the start time. Select When The Workflow Runs or On A Specified Date.
When The Workflow Runs: the schedule’s start date and time is the same as the module’s execution time.
On A Specified Date: the scheduled start date and time reference a specific date. The date referenced can be in ISO format or unix timestamp. - Choose a frequency to set how often the schedule triggers the workflow. This can be Once, Hourly, Daily, Weekly, Monthly, Annually or a custom cadence.
The following data is available in the Run Log once the module has executed:
- Created At: The time the schedule was created.
- Frequency: The frequency of the new schedule, corresponding to the value set in the frequency settings of the module.
- ID: The id of the schedule.
- Start At: the created schedule’s start time as a unix timestamp. If the start time was referenced the time presented in the Run Log will be in the format of the referenced time i.e ISO or Unix.
- Workflow ID: the unique id of the workflow that was scheduled.
Keep in mind the following
Whether you create a fixed or a dynamic schedule, consider the following:
- When you select Monthly, a checkbox option to run automatically on the last day of the month appears. If you select a date that doesn’t exist every month (such as the 29th, 30th, and 31st) and the box is unchecked, the workflow triggers only in the months where the date exists. However, if you check the box, the workflow triggers on the last day of each month. If the start date is any other date of the month, it doesn’t matter if you checked the box or not.
- You can select a custom frequency to access more options, such as how often the workflow should run by setting a number and unit (e.g. every 7 hours). Note that the start time for any schedule isn’t guaranteed, so the workflow could take up to 15 minutes to run.
Delete a schedule dynamically
Use the Delete Schedule utility module to delete schedules dynamically and to stop triggering a workflow. This could be the workflow that was scheduled originally, or a completely separate one.
The Delete Schedule module has one field where the schedule’s ID can be referenced. If the schedule referenced doesn’t exist, the workflow will still run successfully.
The following data is available in the Run Log once the Delete Schedule module has executed:
- Status: If a schedule existed and was successfully deleted the status is Schedule deleted. If a schedule didn’t exist the status is Schedule not found.
Delete or edit a schedule manually
All schedules for a workflow appear in the trigger panel of the workflow the schedule is for. To delete a schedule, navigate to the workflow and click on the cog next to it and select Edit or Delete.
If a schedule doesn’t trigger the workflow to run again in the future, the schedule won’t be visible in the panel and can’t be deleted.
You can’t disable schedules. You will need to delete the scheduled workflow in order to stop it from executing.
If the schedules being created have a recurring frequency, it is good practice to decide how to delete them before they start being created. This could be as the result of the scheduled workflow, or by updating the source that caused it to be created with the ID of the schedule, so that it can be referenced for deletion later.